Have a hankering for homemade egg rolls, but can’t find store-bought egg roll wrappers? Many of our readers have found themselves in this exact situation and asked us to come up with an egg roll wrapper recipe. Well, FINALLY, here it is!
Getting the Correct Moisture Level in the Dough
The key to this recipe was figuring out how to achieve the correct moisture level in the dough. Too dry, and the dough would crack during assembly. If the filling is too wet, the egg rolls may become soggy, fail to hold their shape, and might not achieve the desired bubbling when you fry them.

This is a relatively dry dough at first, but after a 2-hour rest, it becomes wonderfully smooth and pliable. If you add too much water at the beginning to get that smooth consistency quicker, the dough actually ends up too moist after it rests.
I realized during testing that the key is actually mixing and kneading the dough by hand to quickly incorporate the liquid into the dry ingredients. In other words, while you can have a stand mixer knead the resulting dough, mixing it initially is a task that requires your own two hands!
A stand mixer isn’t ideal for the initial mixing of wet and dry ingredients, as it struggles to incorporate them quickly and evenly, resulting in an inconsistent dough. However, once the dough is formed, you can use the stand mixer to finish the job!
Rolling Out the Dough
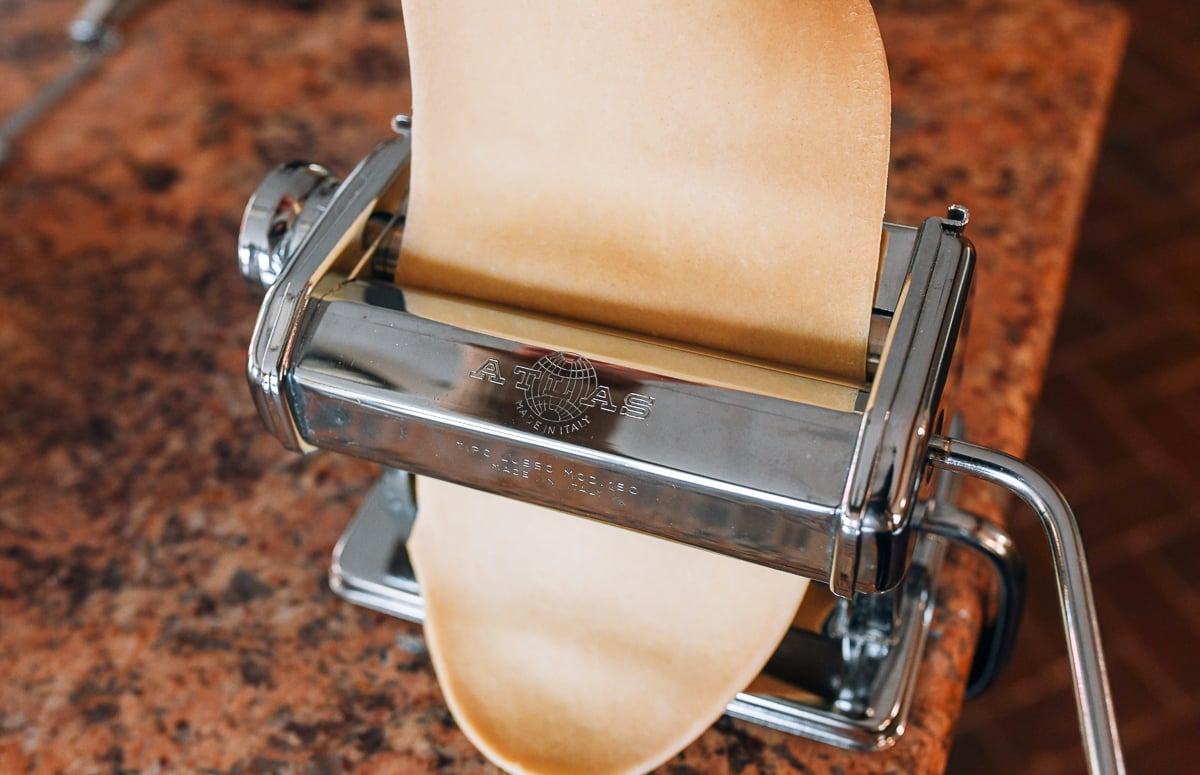
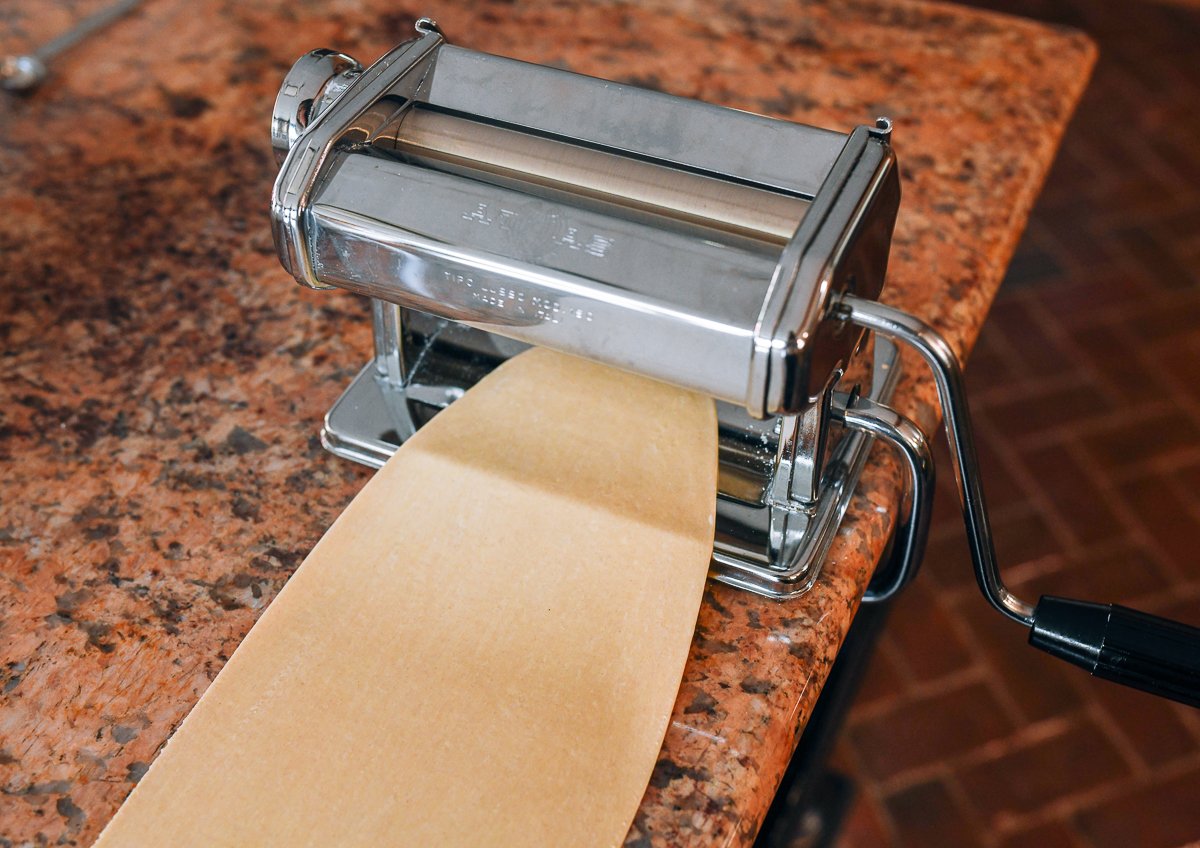
In order to roll out this dough properly (i.e. thin enough) for egg roll wrappers, you will need a pasta roller. You’ll want the dough sheets to be 1.5-2 mm thick, and doing that with a rolling pin would be tough work indeed!
I have used both a manual pasta roller here (a classic Marcato Atlas machine), as well as the electric KitchenAid pasta rolling attachment, and both have worked great.
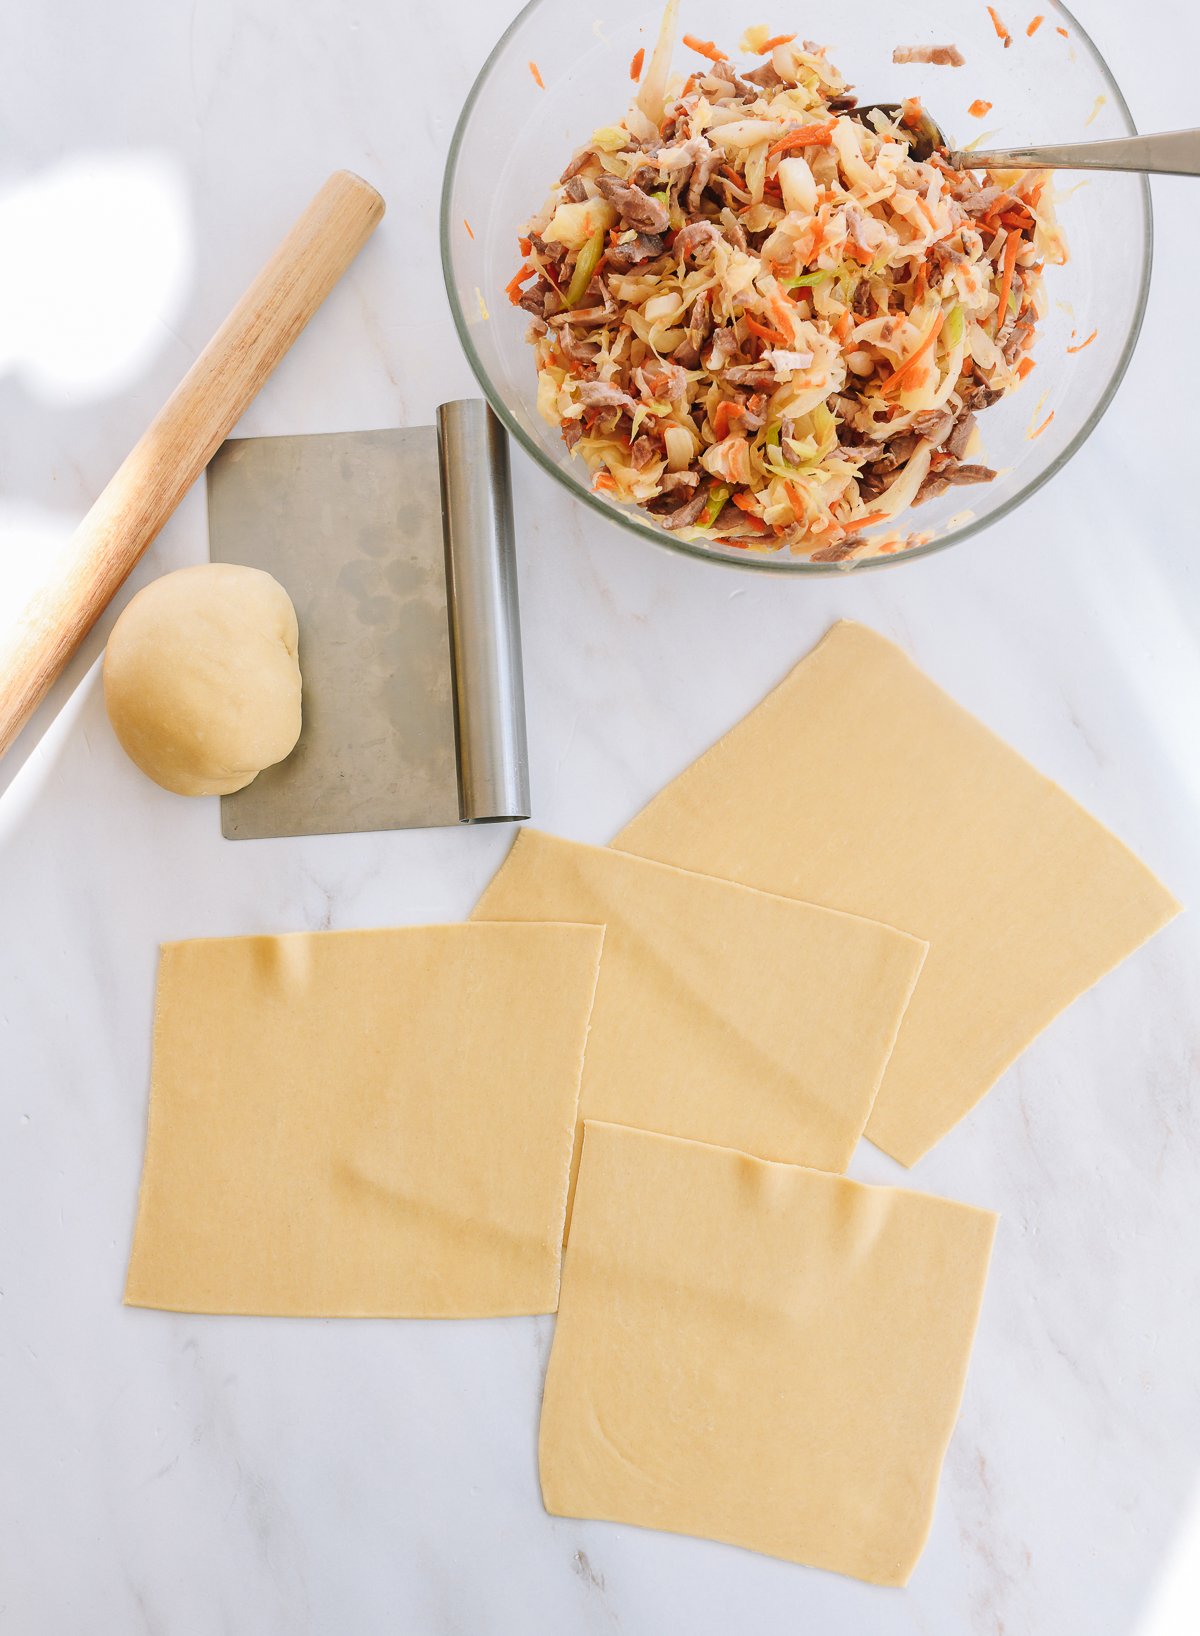
Standard egg roll wrappers are about 6½- to 7-inch (17-18cm) squares. A pasta roller is about 6 inches wide (or slightly smaller), so you can either make slightly more petite egg rolls, or cut squares that are slightly thicker, and then roll each of them out further to a 7-inch width using a rolling pin.
Okay, now that we’ve gotten those technical tips out of the way, let’s make egg roll wrappers! This recipe makes about 24 wrappers, or enough to accommodate the filling amounts in our recipes for Classic Chinese Takeout Egg Rolls, Chicken Egg Rolls, or Vegetable Egg Rolls!
Egg Roll Wrapper Recipe Instructions
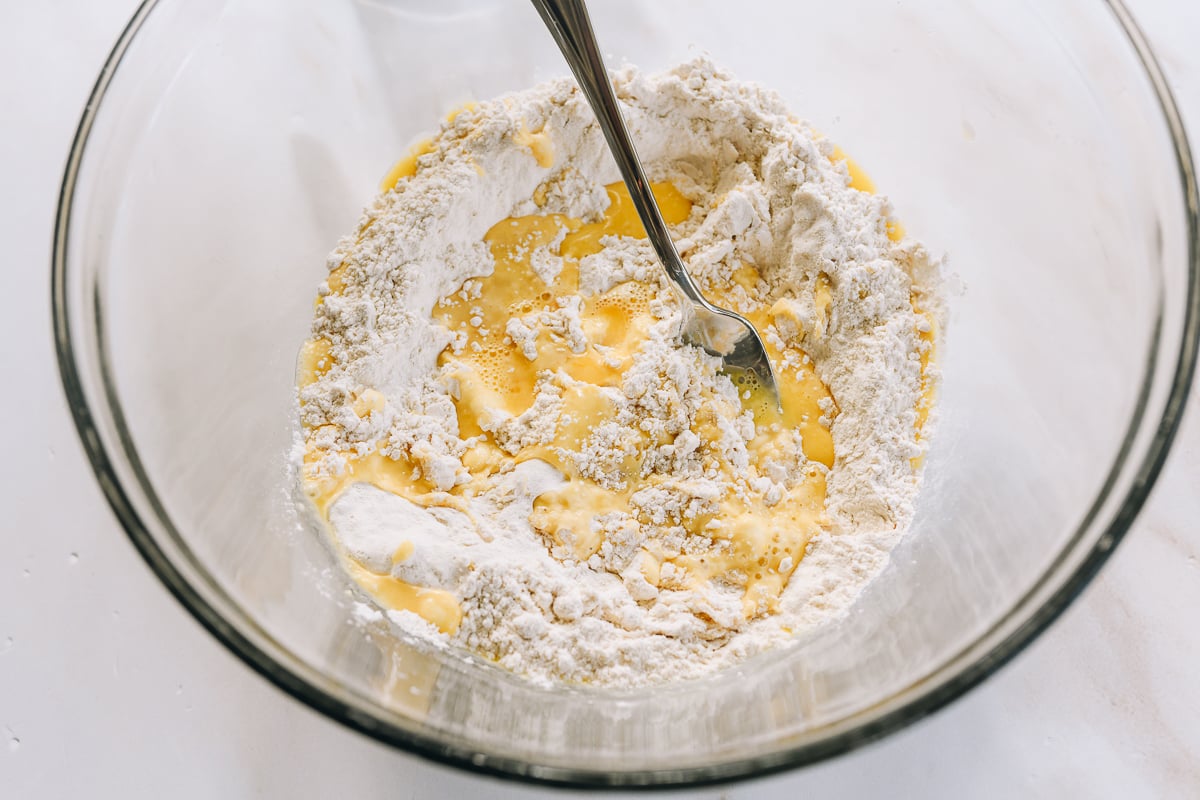
Combine the flour and salt in a large bowl or the bowl of a stand mixer. Beat together the egg yolks and water with a fork or whisk, and add to the flour mixture. Use your hands (not the mixer!) to form a shaggy dough, hand-kneading until well-incorporated.
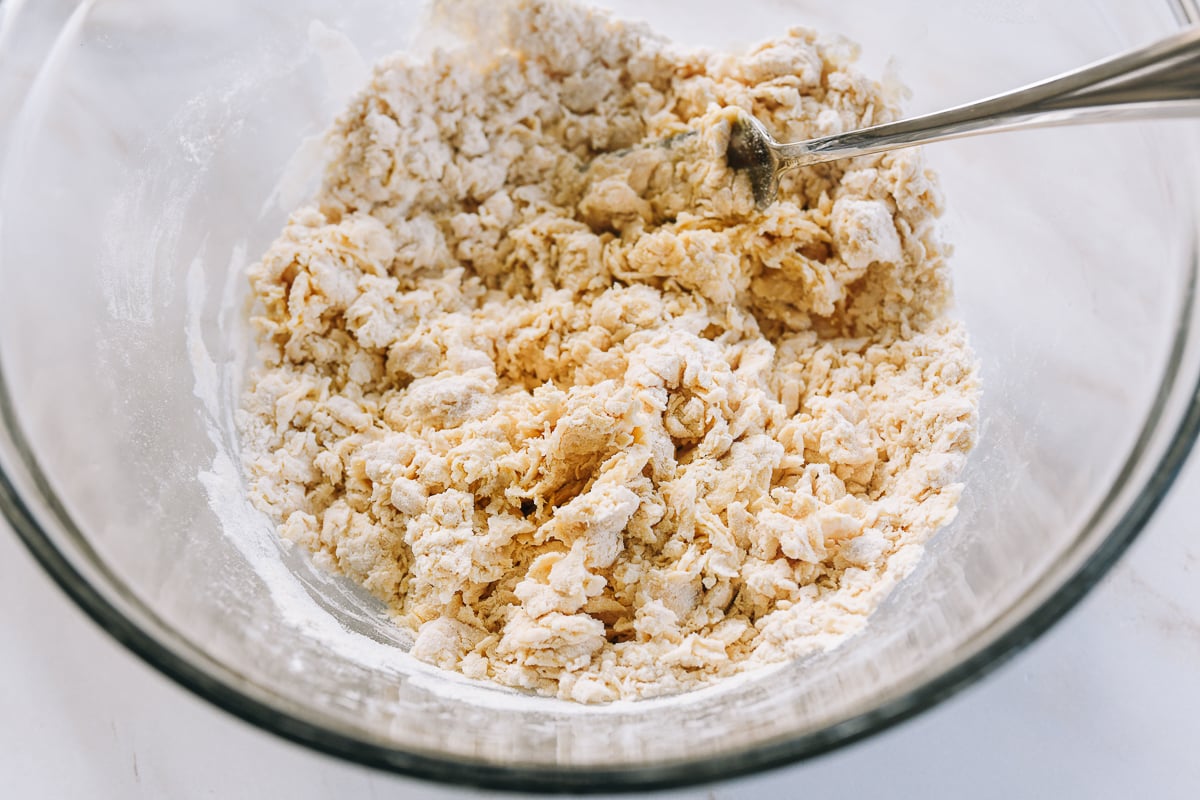
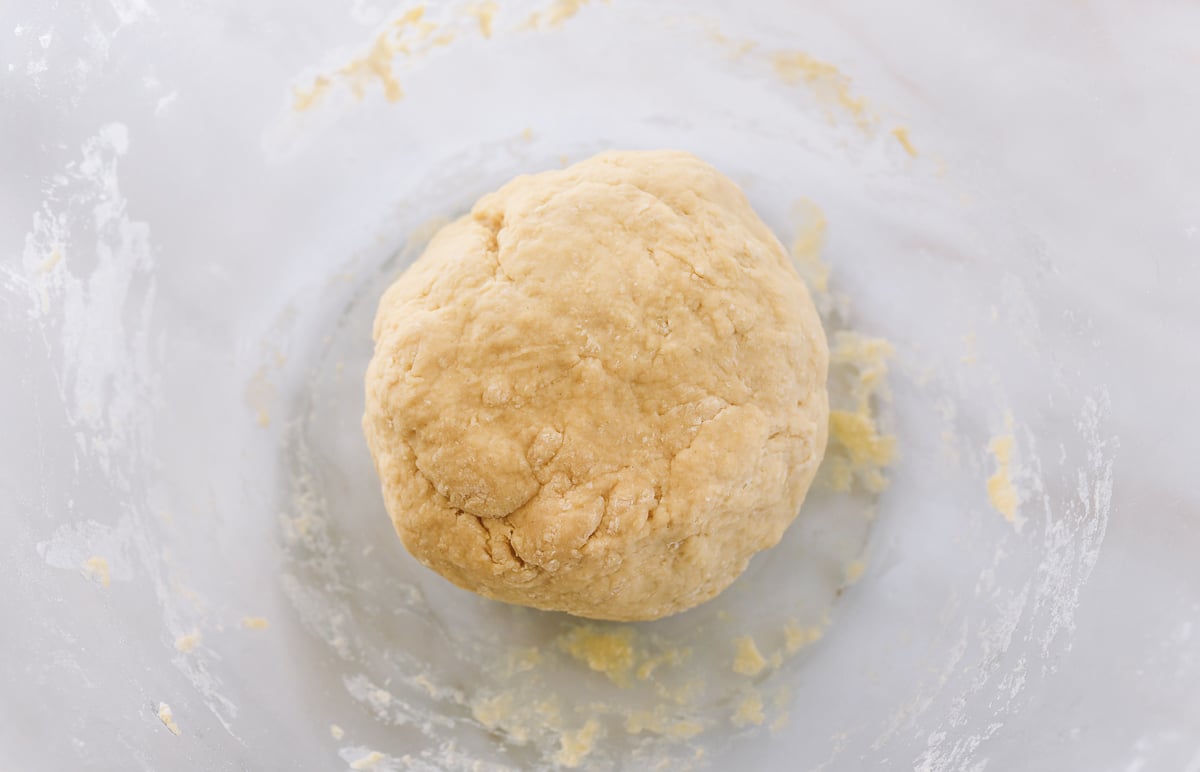
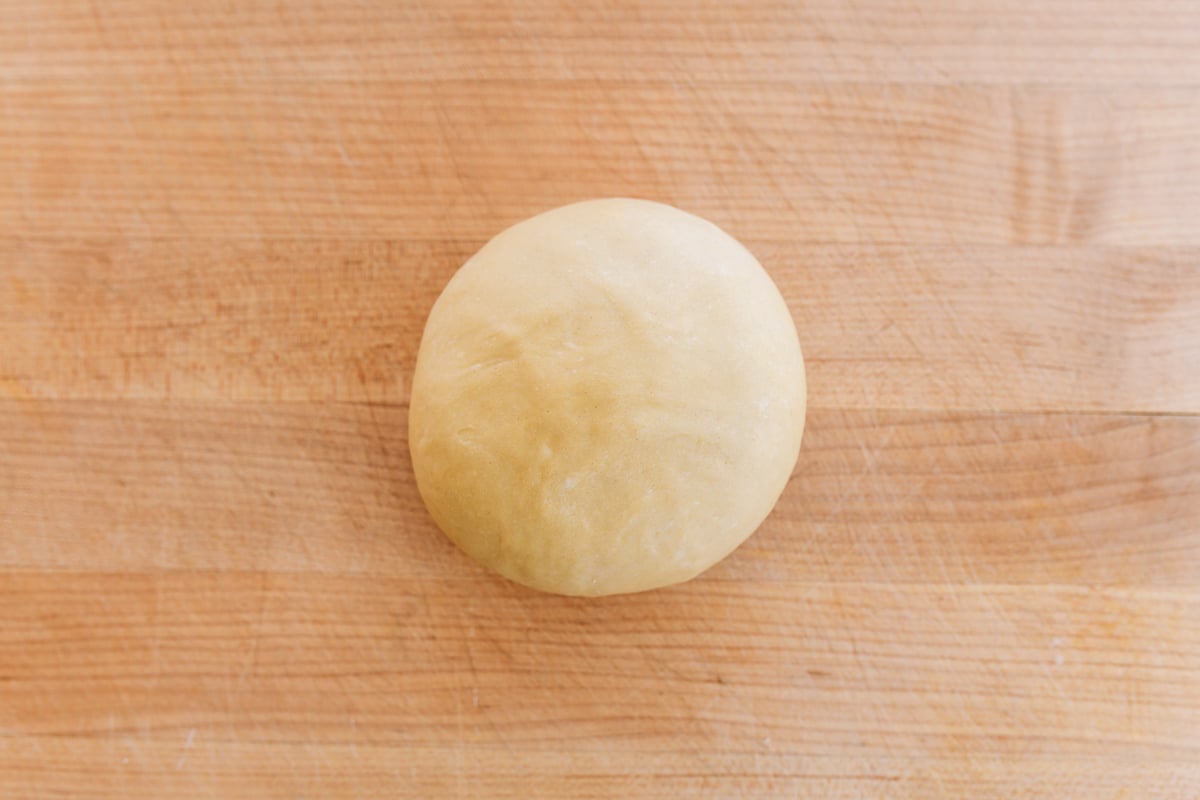
Once the dough has formed, knead using a stand mixer with the dough hook attachment or by hand for another 10 minutes, until the dough is relatively smooth. Cover and allow the dough to rest for 2 hours.

Tip!
As we discussed in the introduction to this recipe…even if using a stand mixer, it’s better to combine the liquid and flour into a dough by hand, as this will result in a more even, smoother result faster. But once the dough has formed, you can use a stand mixer to knead it further. The dough will appear dry at first, but don’t be tempted to add more than a tablespoon or two of additional water. Measuring ingredients by weight will get you the most accurate results here!
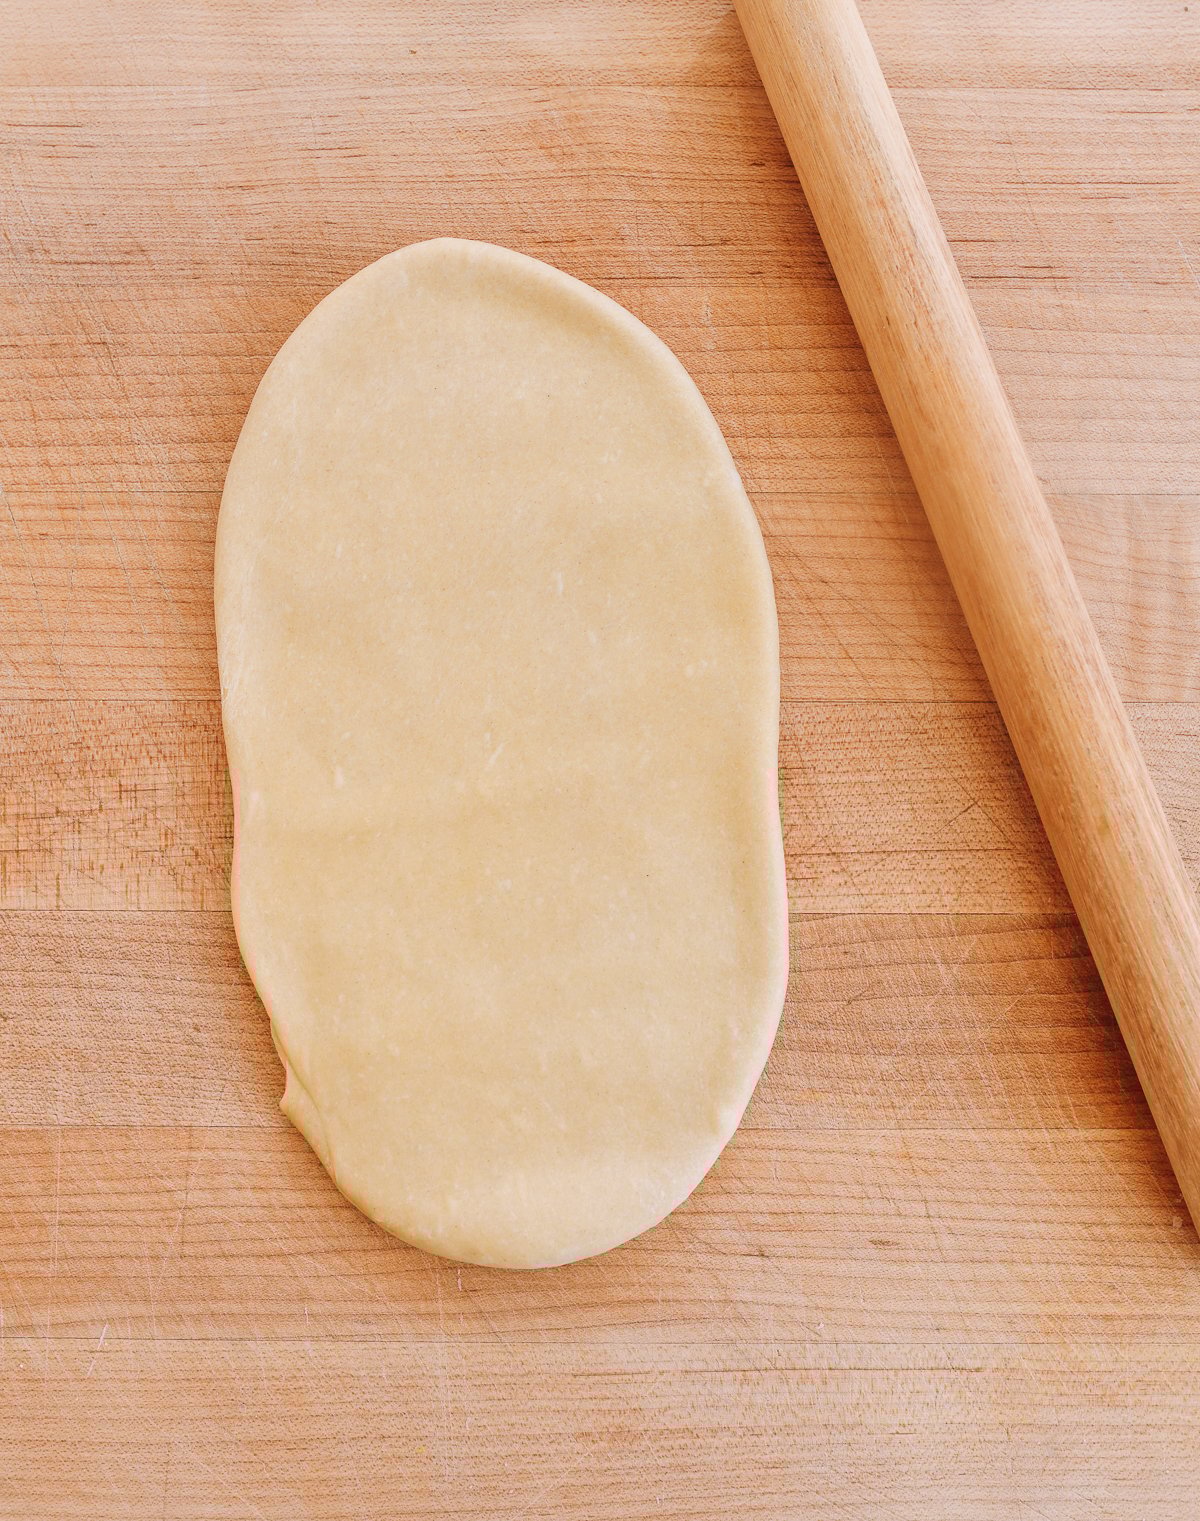
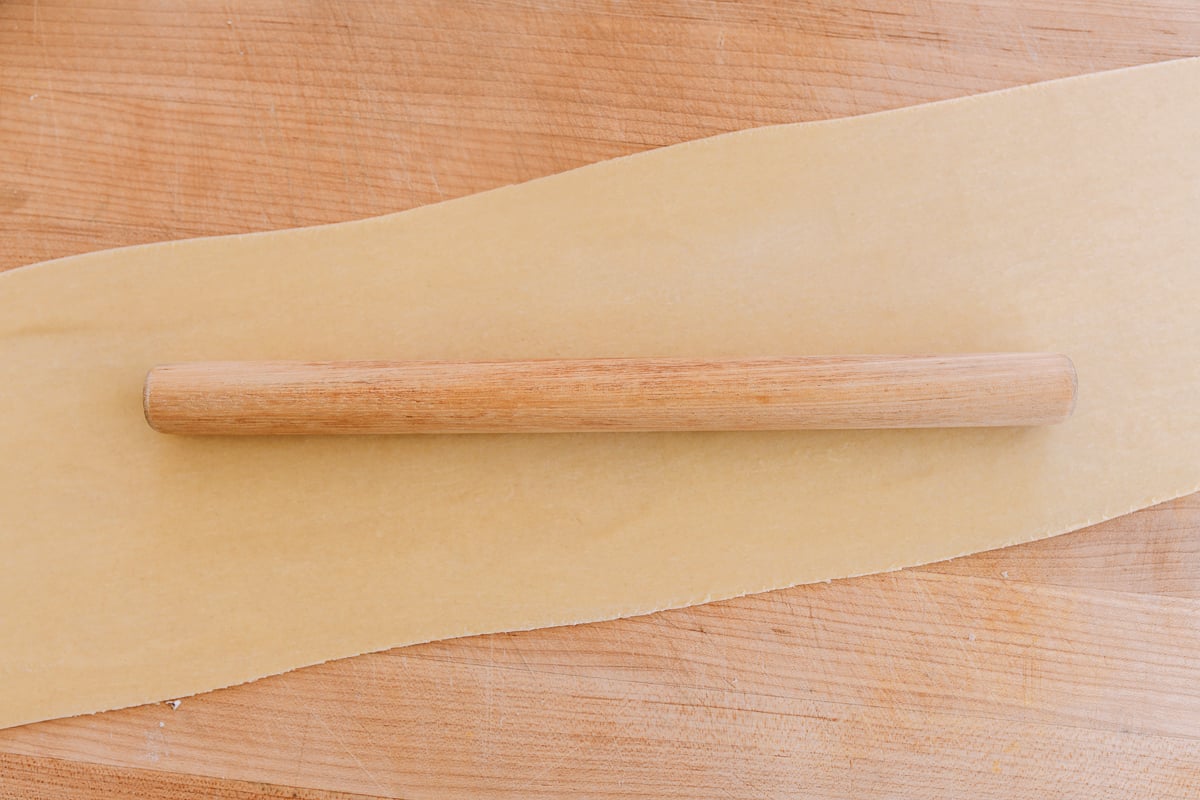
Divide the dough into quarters. Use a rolling pin to roll each piece of dough out into a long 5-inch wide rectangle. If you start with this wider sheet, you will ensure that the dough rolls out to the full width of the pasta roller, or about 6 inches (15cm) wide. Your goal is to make 6-inch squares for your egg roll wrappers.

Feed through the pasta roller, starting with the thickest setting, and going through each setting one by one until you reach #4 thickness on a KitchenAid pasta roller or #5 thickness on an Atlas pasta roller (about 1.5 mm).
If you’d like to make your egg rolls slightly larger, you can use a rolling pin at this point to roll the sheet of dough slightly wider.
Use a sharp knife to cut the resulting dough sheets into 6-inch (15cm) squares.
Tip!
If you have any uneven scraps, you can squish them back into another ball of dough to be used again.
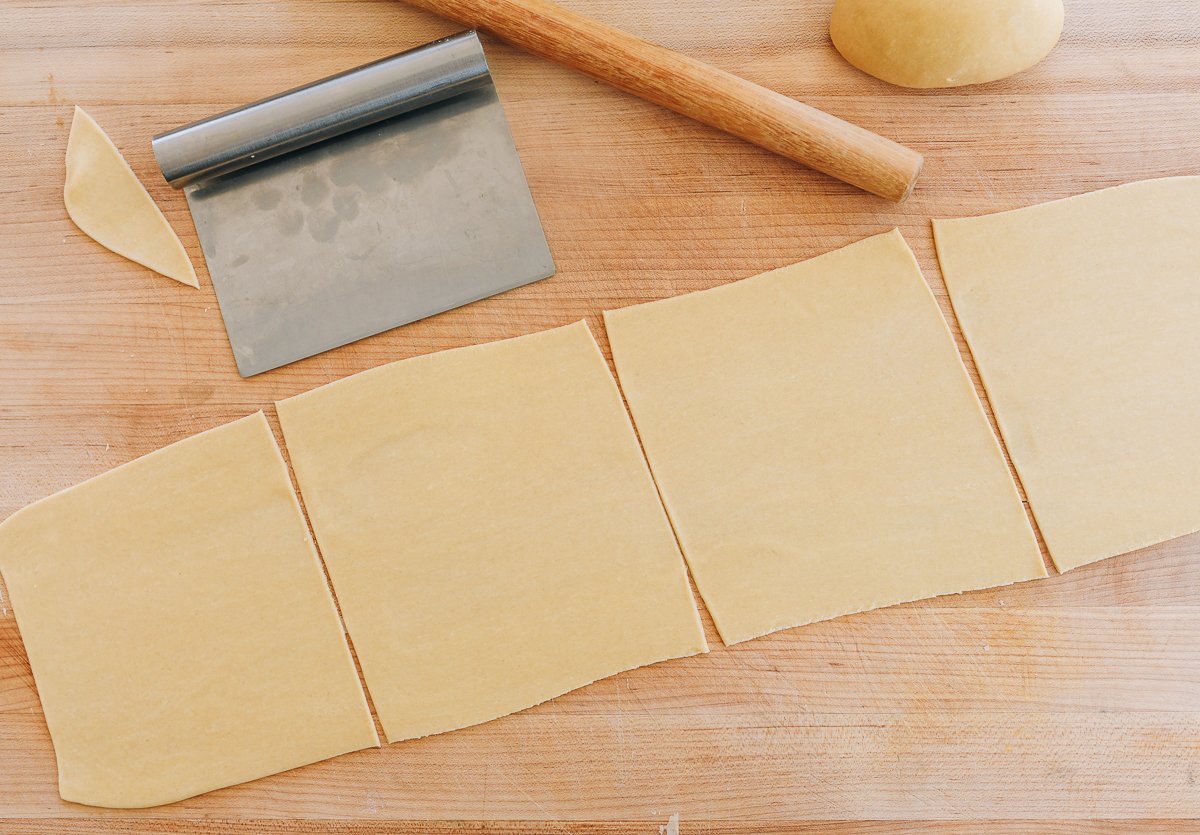
Dust each side with cornstarch, and stack them. Then cover with plastic wrap until ready to use.
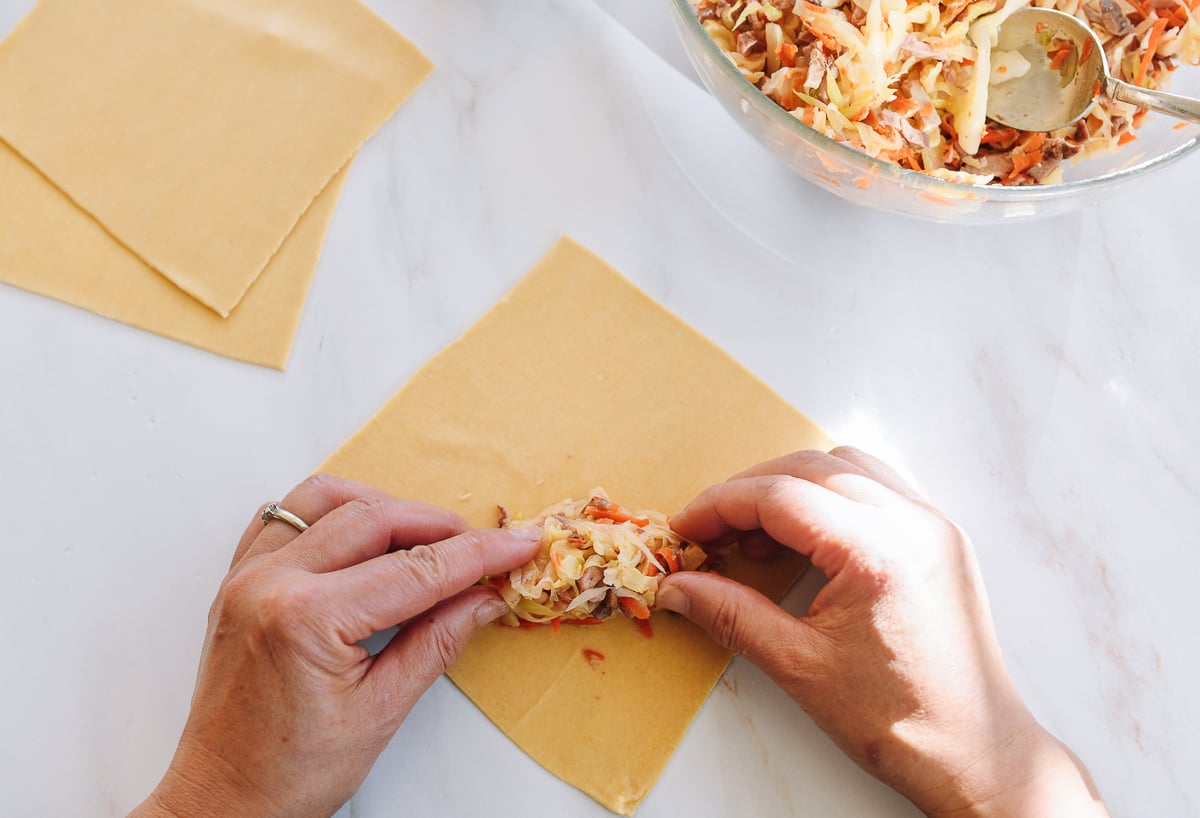
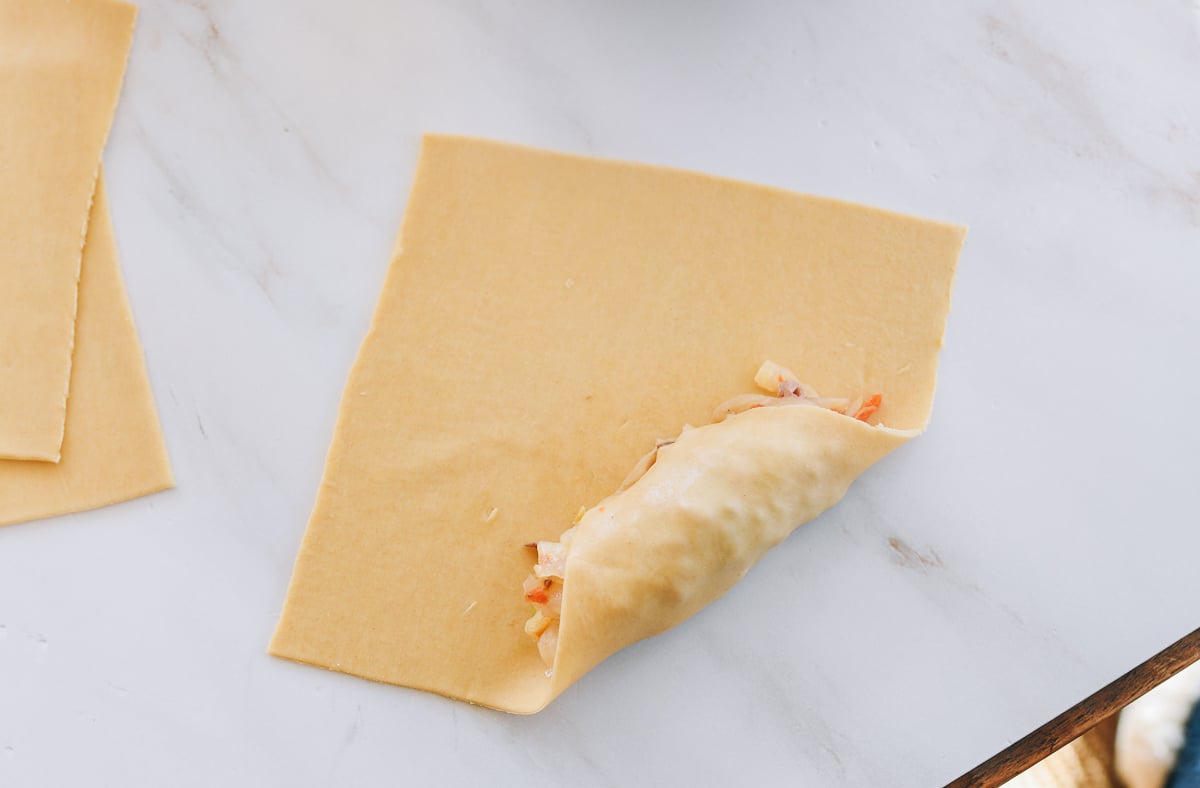
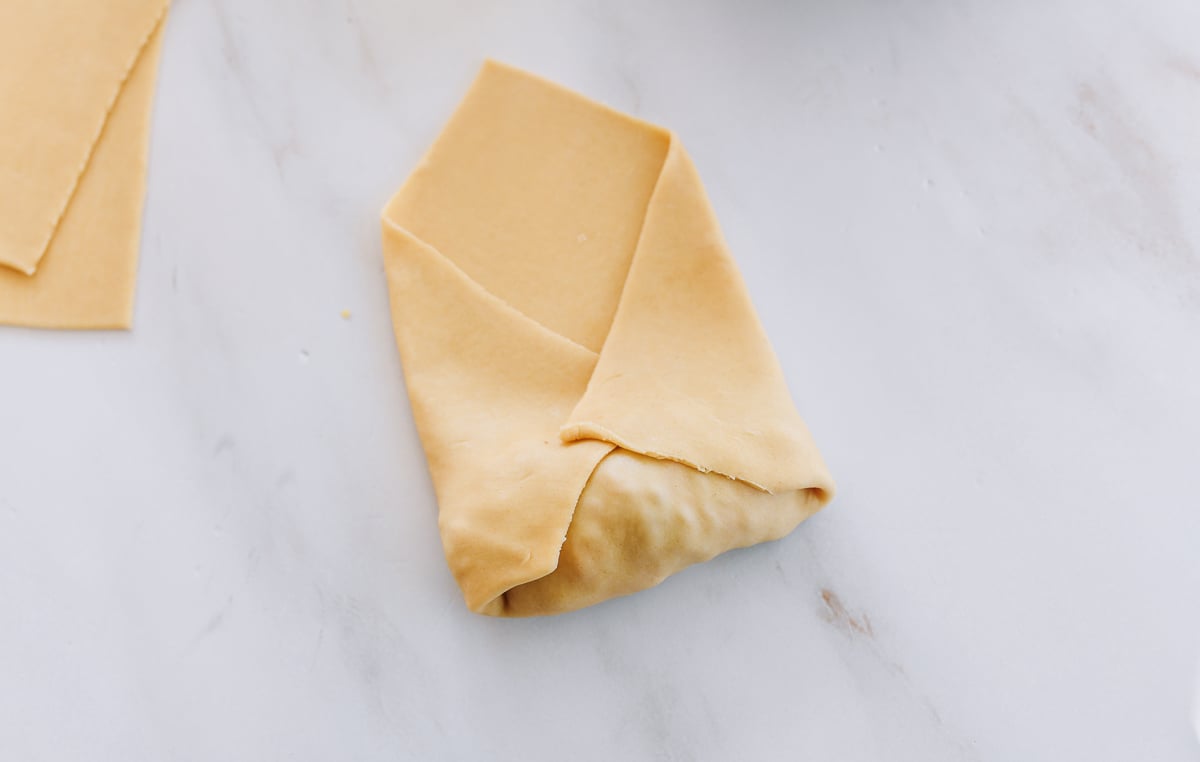
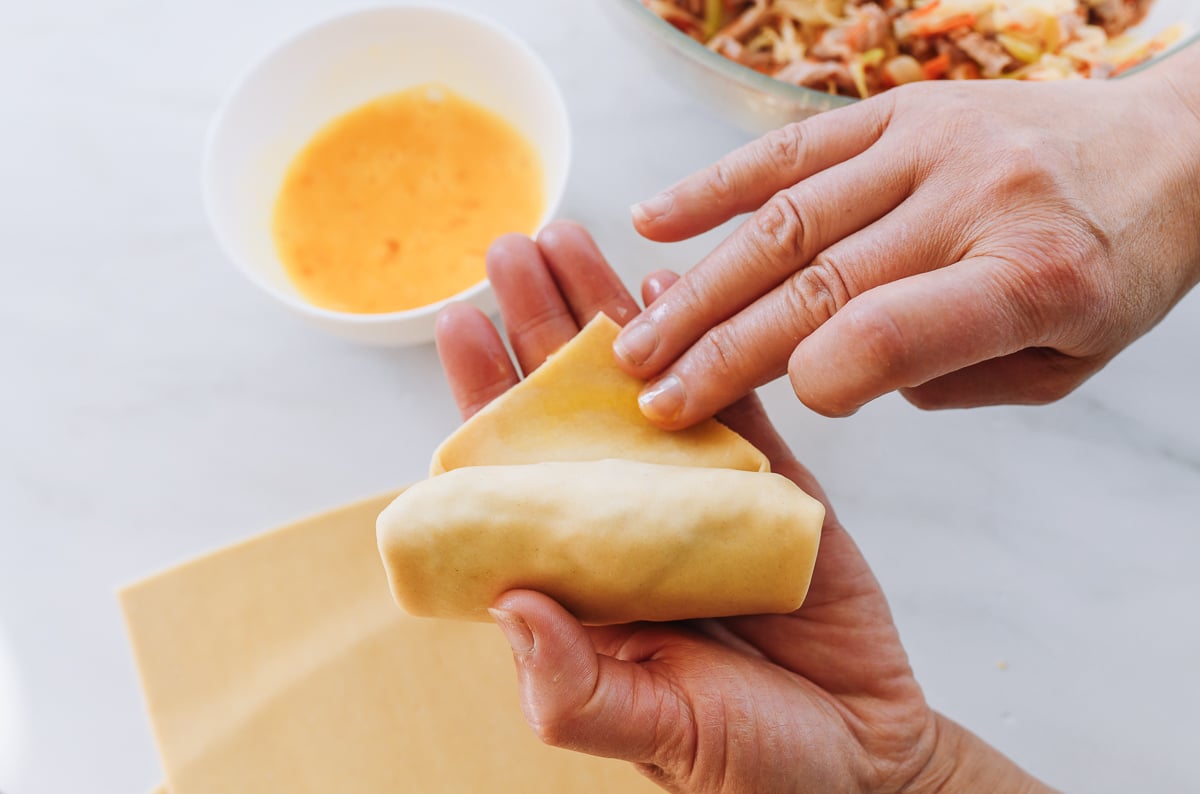
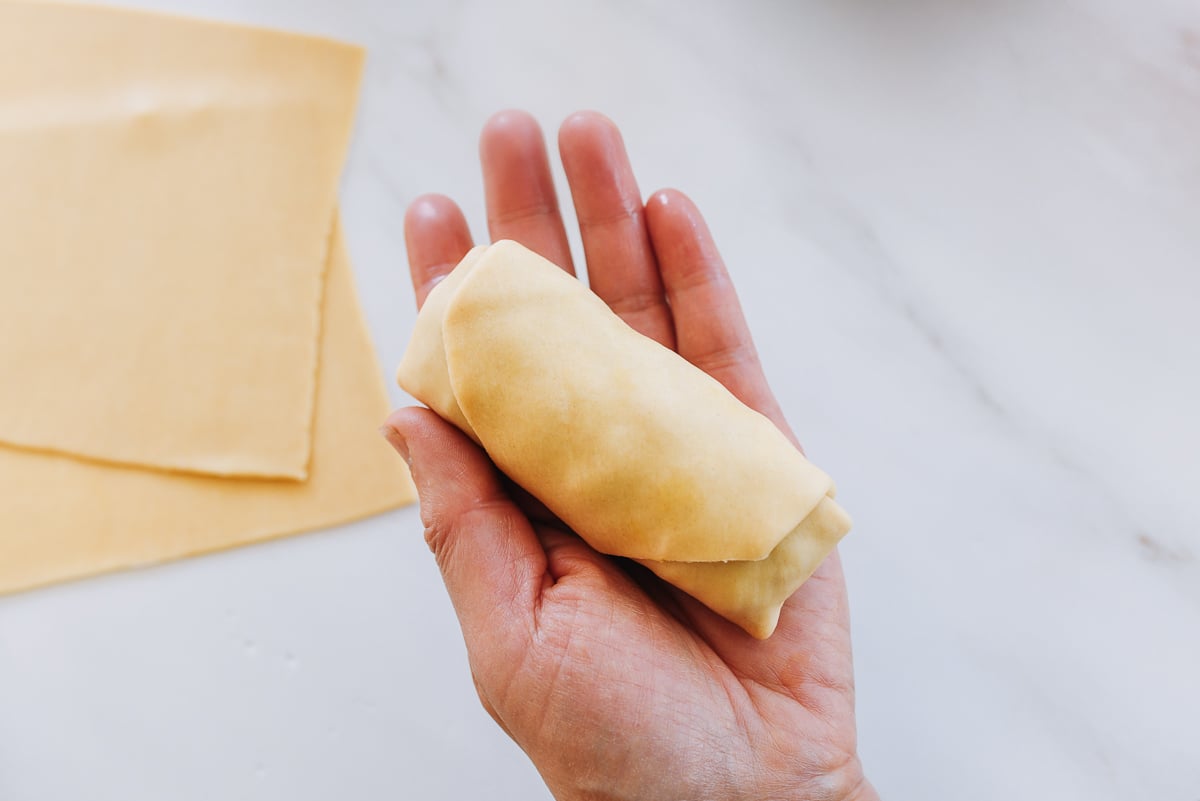
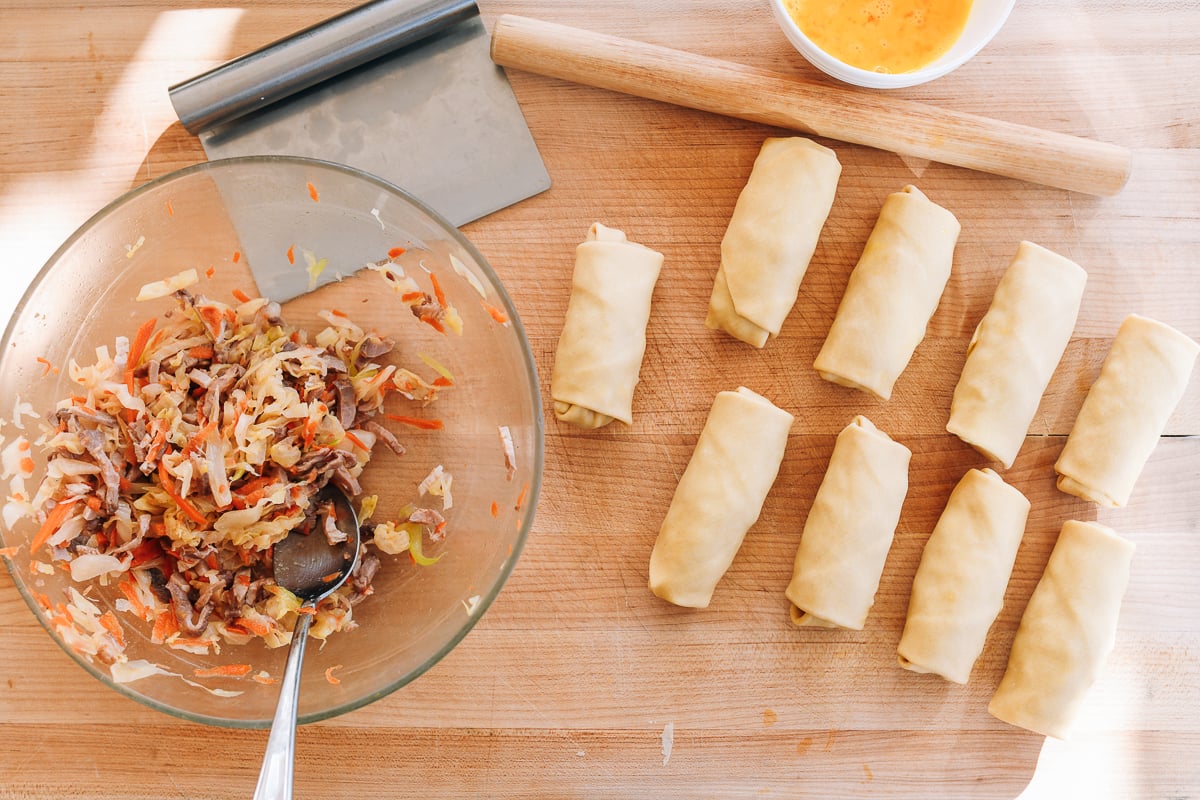
It’s best to roll out these wrappers when your filling is all ready to go. Then assemble your egg rolls immediately!
Recipe Yield:
This recipe makes 24 egg roll wrappers. That’s the number of egg rolls you can make with our classic egg roll recipe or chicken egg roll recipe. If you have any dough leftover, however, you can cut it into pasta or noodle shapes, boil them, and enjoy it as pasta. Or you can slice into strips and fry on their own to make Chinese crispy noodles to dip into duck sauce and mustard!

Looking for more authentic recipes? Subscribe to our email list and be sure to follow us on Pinterest, Facebook, Instagram, and Youtube!
Recipe

Egg Roll Wrappers
Ingredients
- 6 cups all-purpose flour
- 1½ teaspoon salt
- 4 large egg yolks
- 1½ cup water
- ¼ cup cornstarch (for dusting)
Instructions
- Combine the flour and salt in a large bowl or the bowl of a stand mixer. Beat together the egg yolks and water, and add to the flour mixture. Use your hands (not the mixer!) to form a shaggy dough, hand-kneading until well-incorporated. Once the dough has formed, knead using a stand mixer with the dough hook attachment or by hand for another 10 minutes, until the dough is relatively smooth. Cover and rest the dough for 2 hours.
- Divide the dough into quarters. Use a rolling pin to roll each piece of dough out into a long 5-inch wide rectangle. If you start with this wider sheet, you will ensure that the dough rolls out to the full width of the pasta roller, or about 6 inches (15cm) wide.
- Feed through the pasta roller, starting with the thickest setting, and going through each setting one by one until you reach #4 thickness on a KitchenAid pasta roller or #5 thickness on an Atlas pasta roller (about 1.5 mm). Cut the resulting dough sheets into 6-inch (15cm) squares. Dust each side with cornstarch, and stack them. Then cover with plastic wrap until ready to use.


