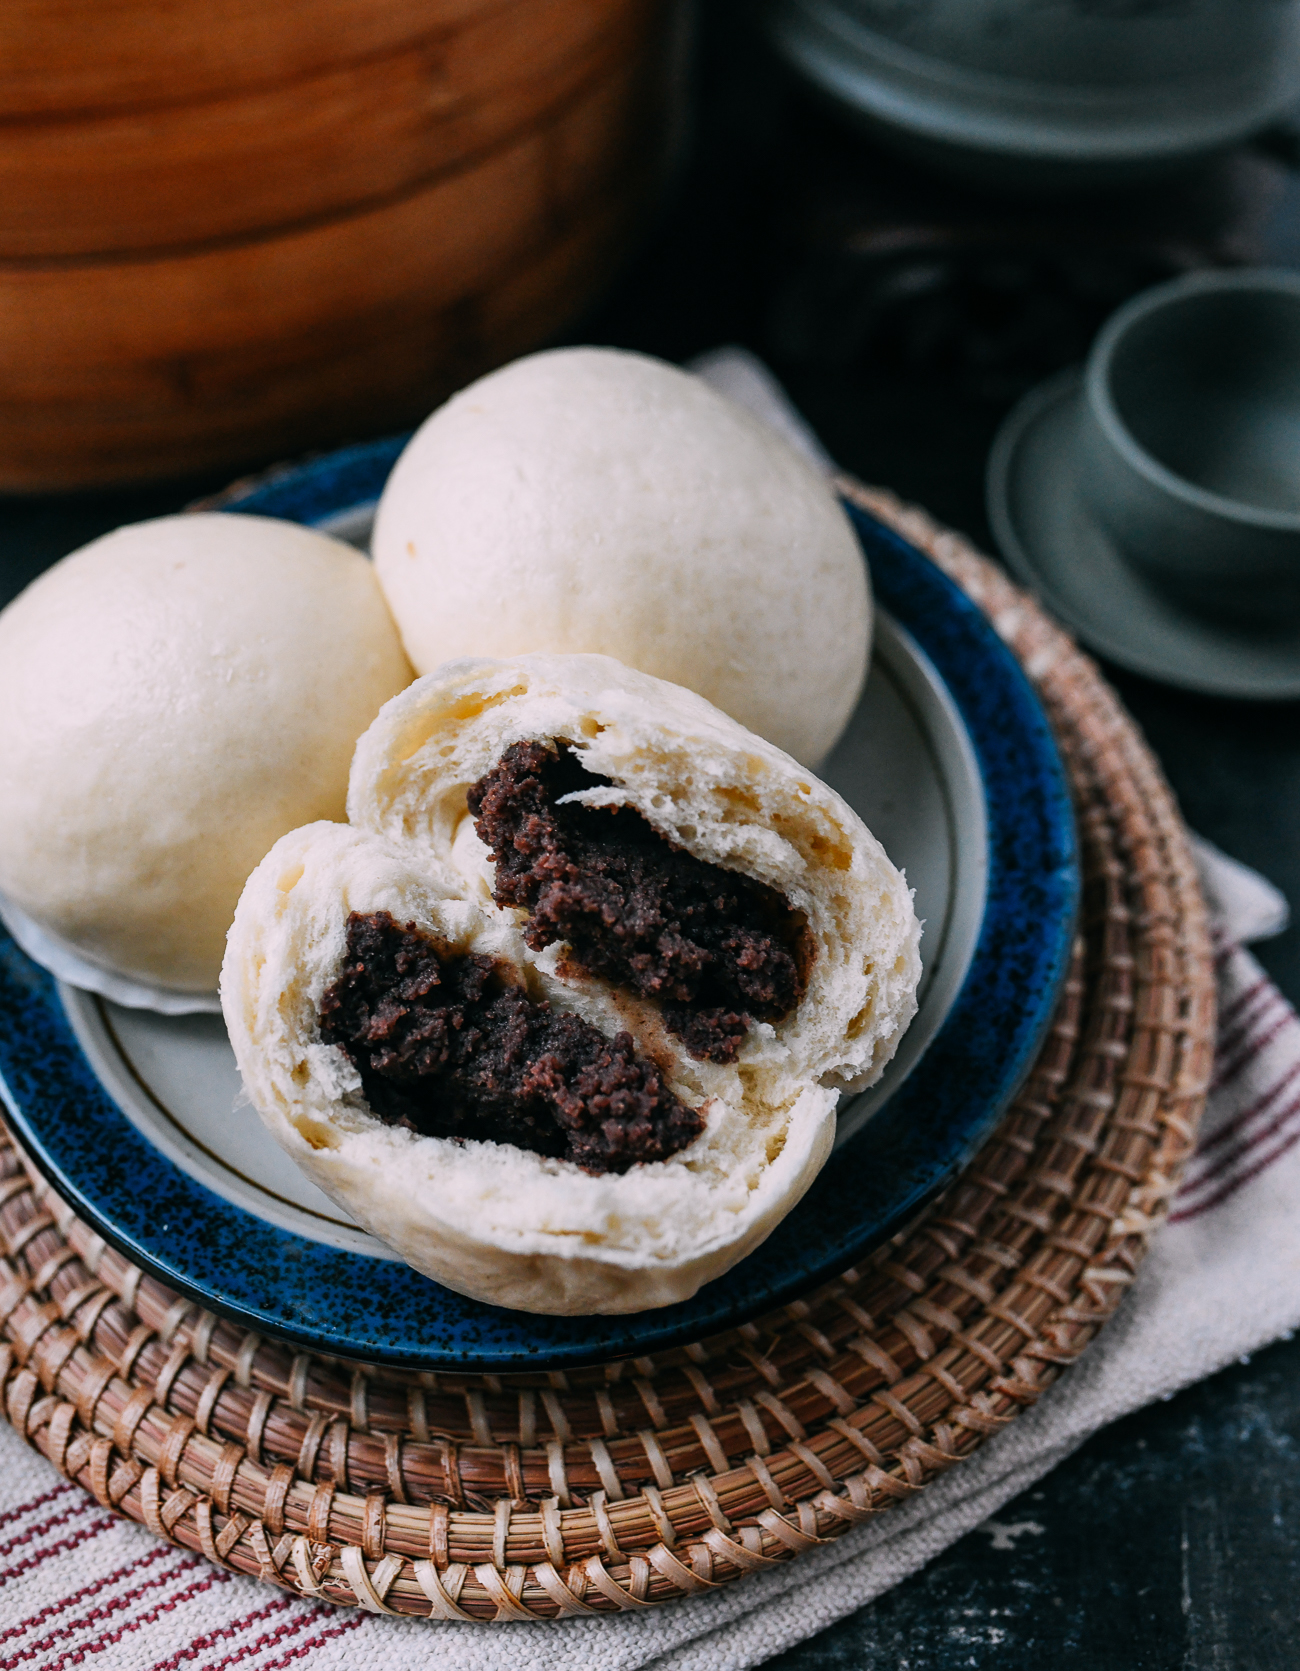
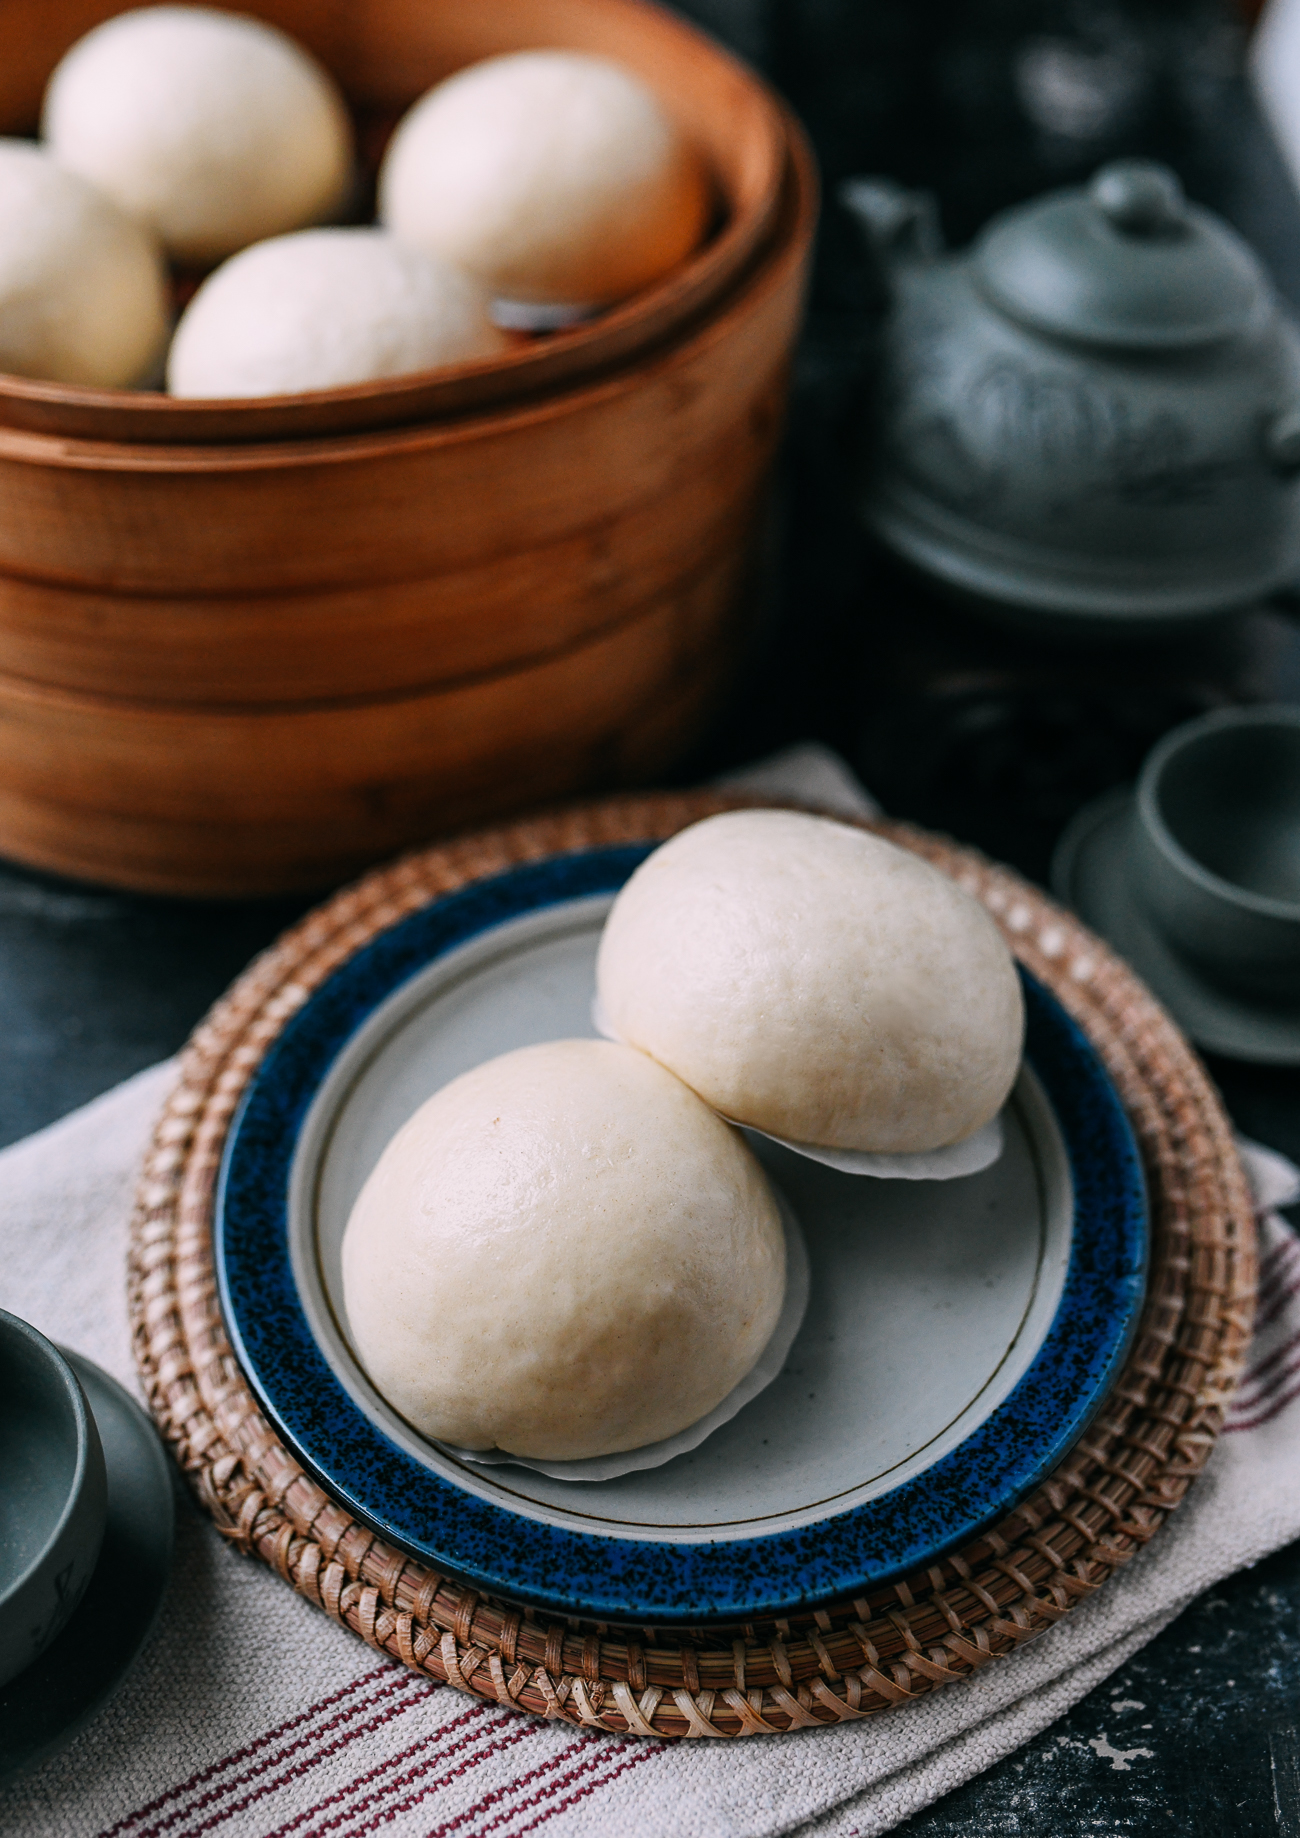
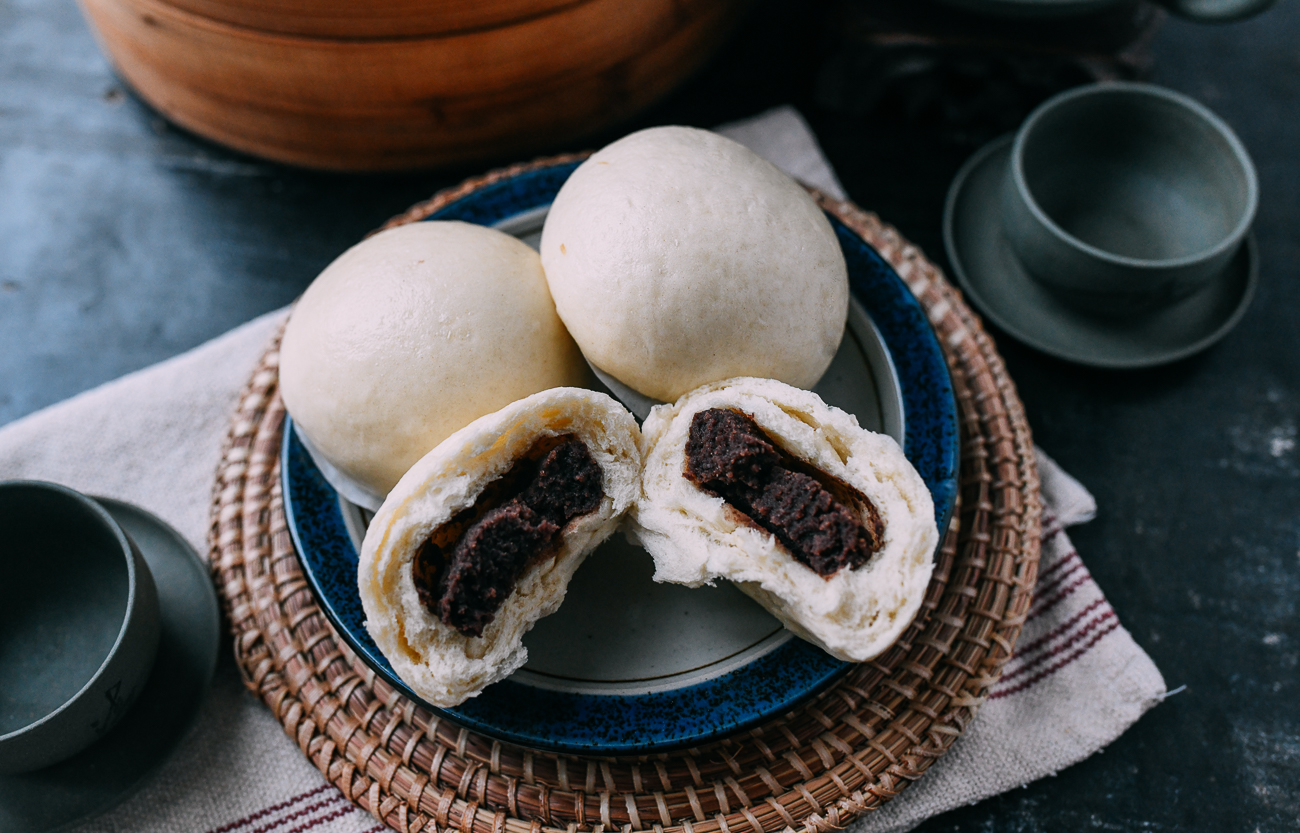
These classic Steamed Red Bean Buns are known as dòu bāo (豆包) to Northerners, and dòushā bāo (豆沙包) to Southerners.
It took me a while to realize that both refer to this same delicious fluffy bun with sweet red bean filling.
A Childhood Favorite
As a child so many moons ago, steamed red bean buns were the apple of my eye—my absolute favorite.
In the way that little children’s minds fixate on things, I wanted it, I wanted it, and I wanted it! At the time, my love for steamed red bean buns went way above people’s love for other popular Shanghai favorites like Youtiao (fried dough) or Pan-fried Pork Buns.
But I just couldn’t get my little hands on one! I was told we were short on money, which was true for many people in China in the 1960s-1970s.
Plus, making steamed buns was not something Shanghainese families did at home in those days. We left it to the specialists hawking steamed buns along with other breakfast treats like Shanghai wontons.
Suffice it to say, it was what you might call a love-hate relationship.
Today, I ask myself why I waited this long to write up this steamed red bean bun recipe. I think my subconscious mind really just wants to forsake that sad childhood memory!
But while it was hard for me to get my hands on these, the few times I was able to taste these were bittersweet. All the more reason for this humble steamed bun recipe to be recorded!
Mastering Steamed Mantou Dough
Steamed buns, or mántou (馒头) are a simple accompaniment to meals at all times of day, especially in Northern China. While the dough is simple, it can be tricky to make with perfect results.
While these Steamed Red Bean Buns only took a few attempts to test, I’ve been preparing for years with all of my mantou recipes!
When you think of mantou, you think of a white, smooth dough. Over the years, I’ve found that the key is not just the dough itself.
You also have to let the steamed buns set in the steamer with the heat off before you take them out. Much like a cake or souffle, they’re at risk of deflating if they immediately come out of a hot steamer.
One additional finding is the importance of the dough-to-filling ratio. You can have less filling, but definitely not more than what the recipe asks for.
If you put too much filling in the middle, the buns will lose their structural integrity and that fluffy appearance.
Another Great Way to Use Red Bean Paste
Sweet red bean treats have been desserts of choice in Asia for centuries—from sweet red bean mooncakes and zongzi to red bean soup, smoothies, and mochi (or snow skin mooncakes). The list goes on!
As a big fan of red bean, our red bean paste recipe is not only easy, it makes a large batch. It’s certainly more than you need for this recipe, but you can freeze the leftover red bean paste for another one of our red bean recipes, like red bean bread. It will save a lot of time next time you have a craving!
That said, store-bought red bean paste is always a nice shortcut. It comes in cans or vacuum-sealed pouches. However, I like to make my own because I find that the store-bought red bean pastes are too sweet for my taste.
With that, on to the recipe!
Steamed Red Bean Buns: Recipe Instructions
First, prepare the red bean paste. You can use our recipe for sweet red bean paste, or opt for store-bought.
Our original recipe makes a large batch of red bean paste. You can freeze the leftovers to make other recipes. If you would like to make the exact amount needed for this recipe, scale the serving size down from 21 to 4 in the recipe card.
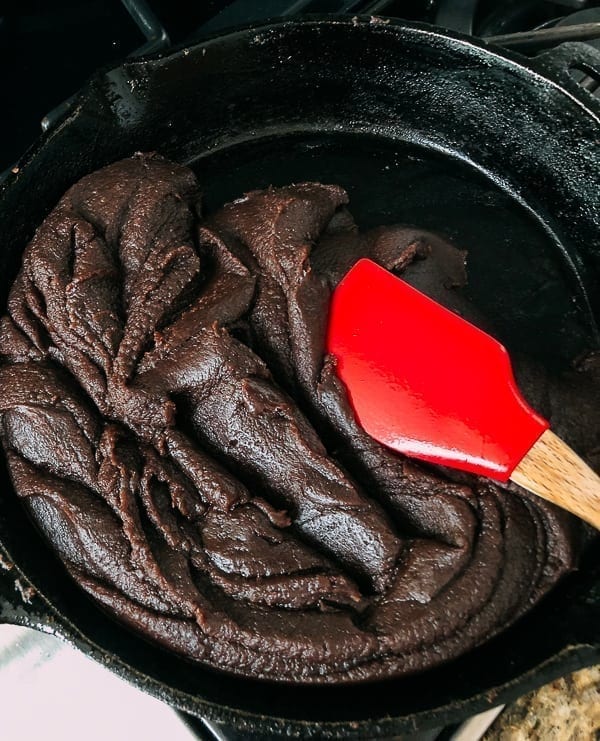
The filling must be cooled completely and can be made up to several days in advance.
Next, make the dough. We use a stand mixer, but you can also make the dough by hand.
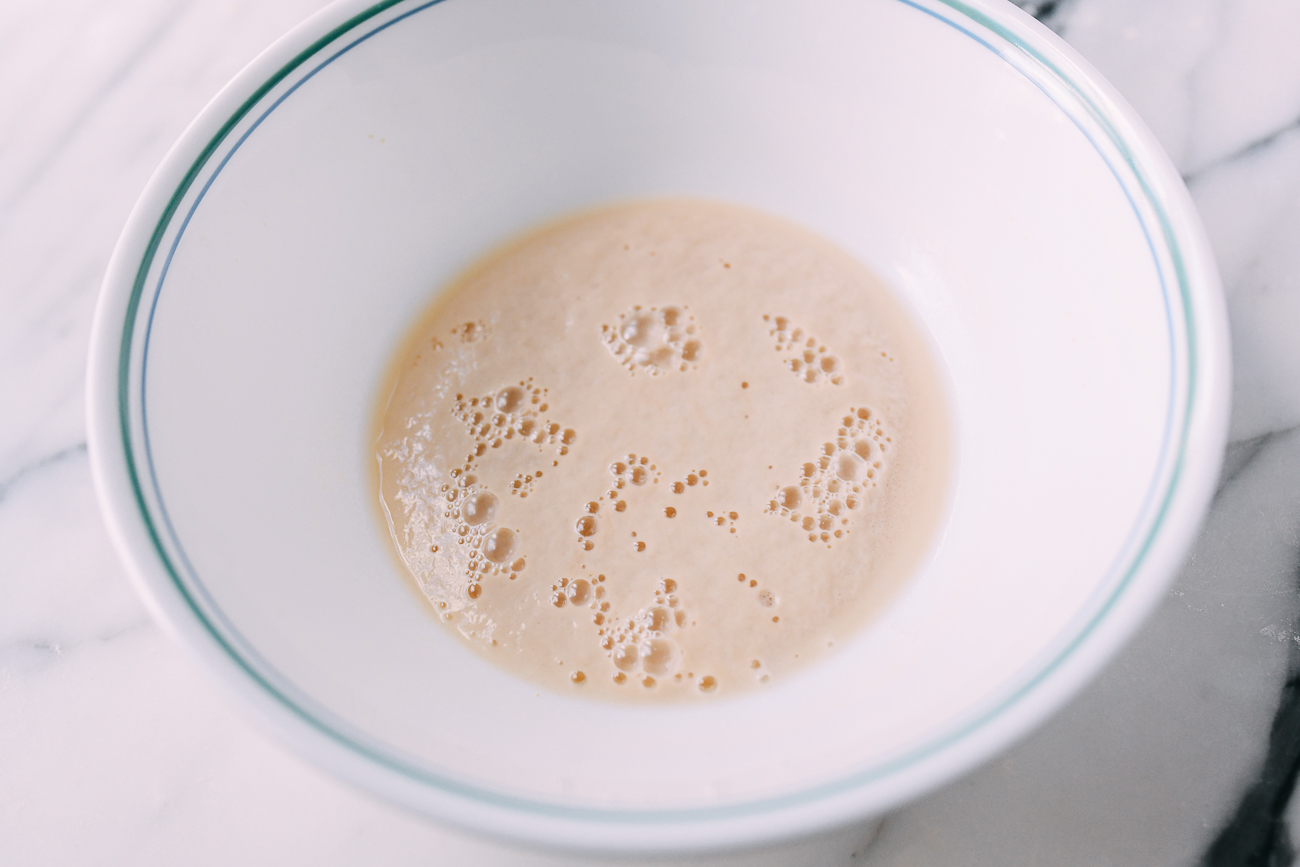
In a large mixing bowl, add 1 teaspoon sugar to ¼ cup lukewarm water, and stir in the yeast until dissolved. Let sit for 15 minutes until the yeast foams up.
Next, stir in the milk and add the flour, powdered sugar, and salt. With the dough hook attachment, turn the mixer on low.
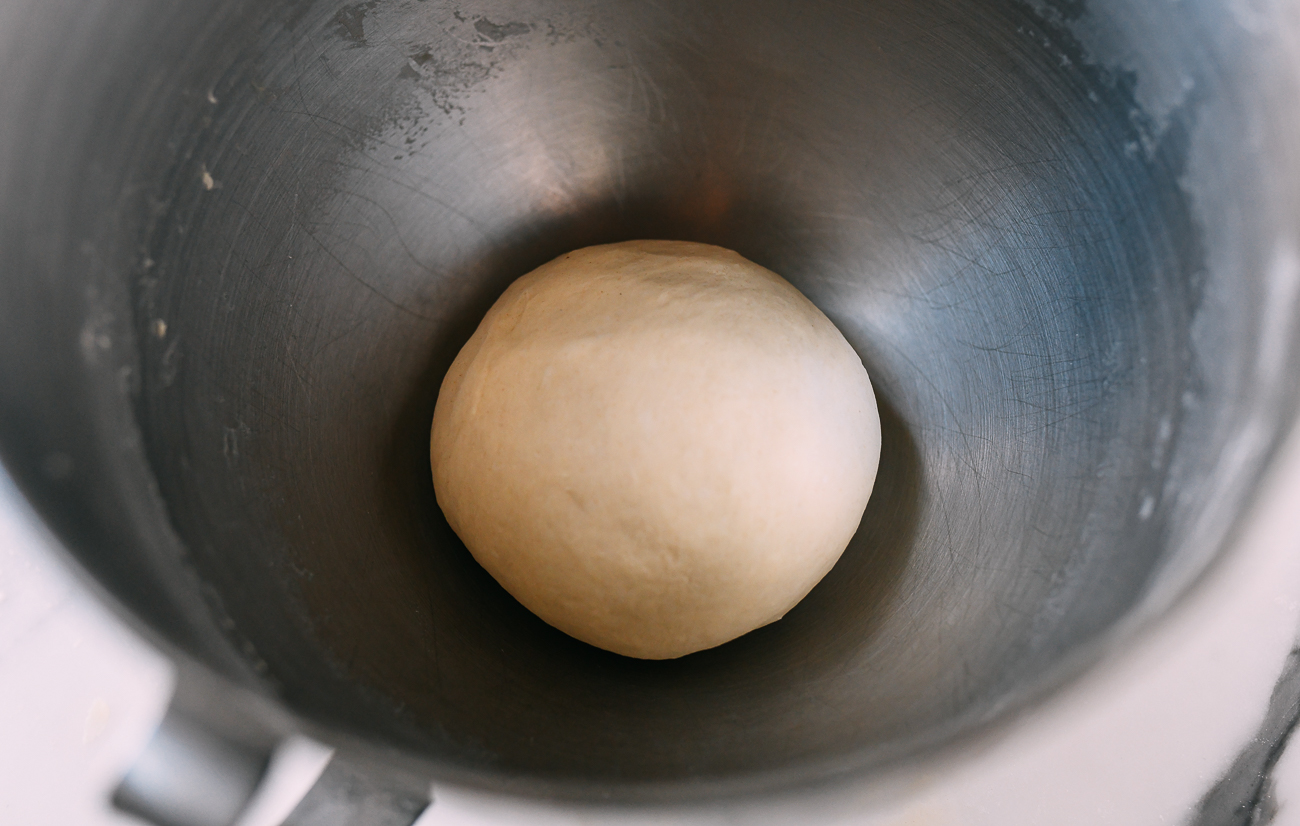
Let the mixer go for 5 minutes, or knead by hand for 8 minutes, or until the dough is soft and smooth as a baby’s butt! The dough should not stick to your hands or the bowl.
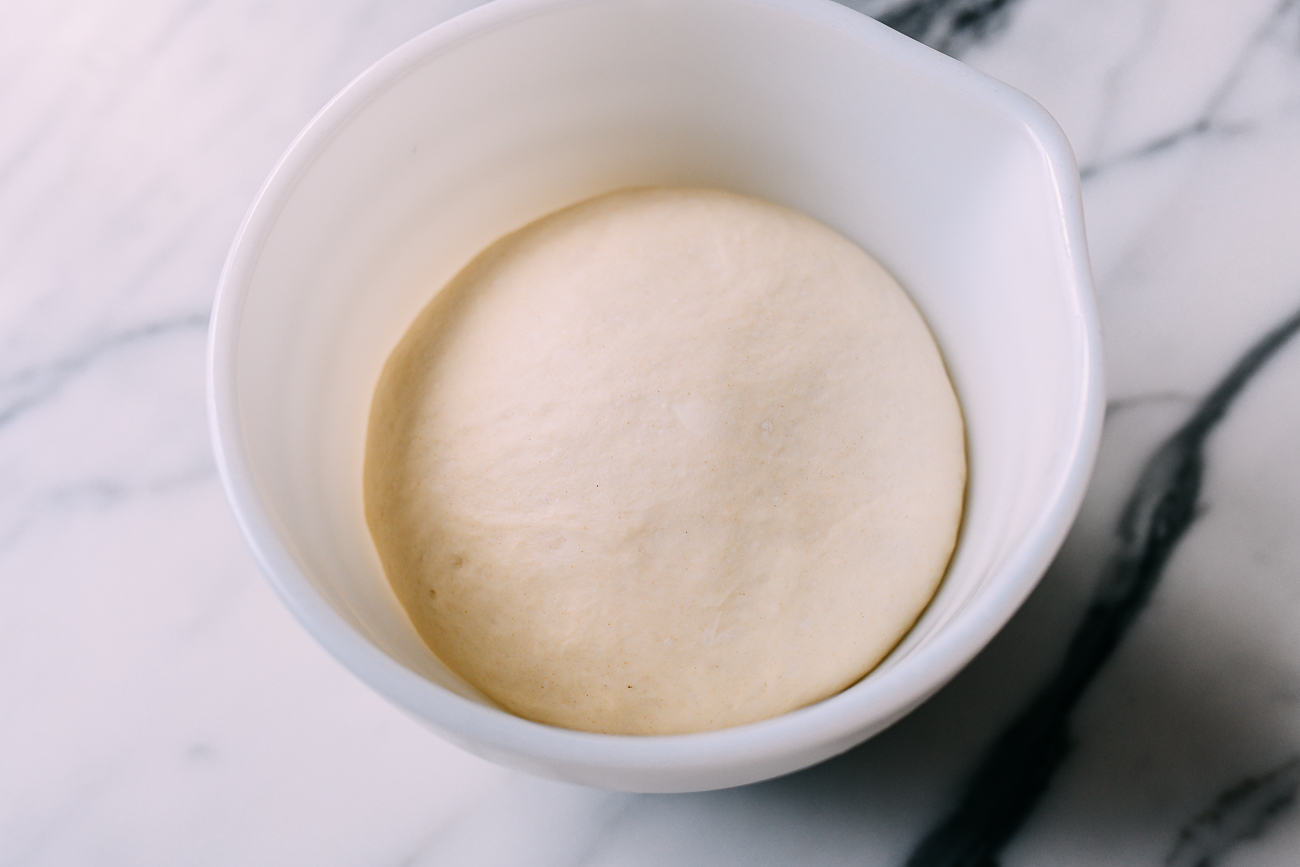
Cover with a plate to proof for 1 hour in a warm spot, or until the dough doubles in size. I proof the dough inside my closed microwave with a large mug of just boiled hot water next to it.
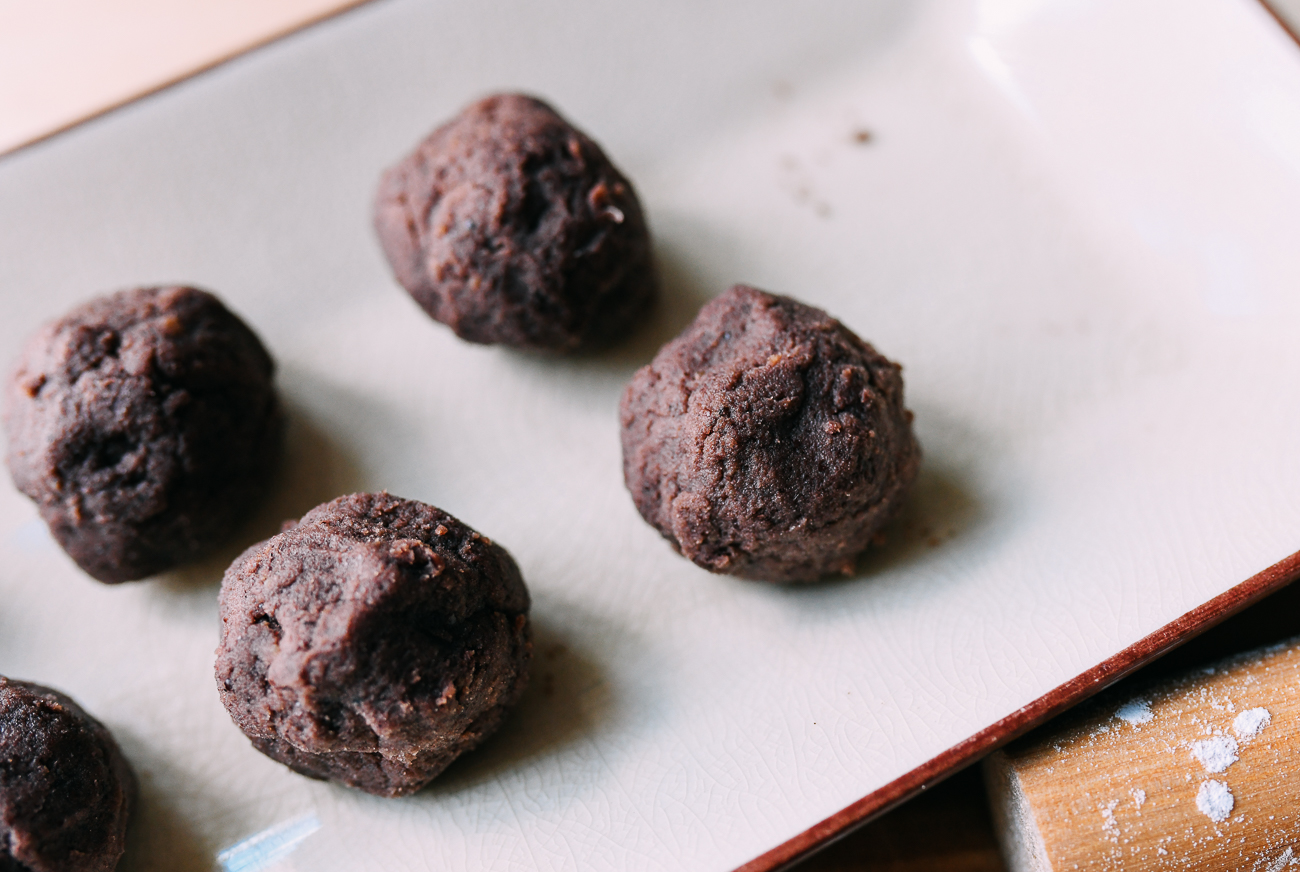
While the dough is proofing, roll 8 balls of red bean filling between your palms. Each should weigh about 25g. Cover them with a damp towel to prevent them from drying out. Set aside.
Cut out eight 3″x 3″ squares of parchment paper for the buns to sit on in the steamer.
After proofing, put the dough back in the mixer. Knead for another 2 to 3 minutes to get rid of any air bubbles. (Or knead by hand for 5 minutes). Transfer to a clean, lightly floured surface.
Use a kitchen scale to equally divide the dough into 8 pieces (mine were 50g apiece). Cover them with a clean kitchen towel while you assemble the buns.
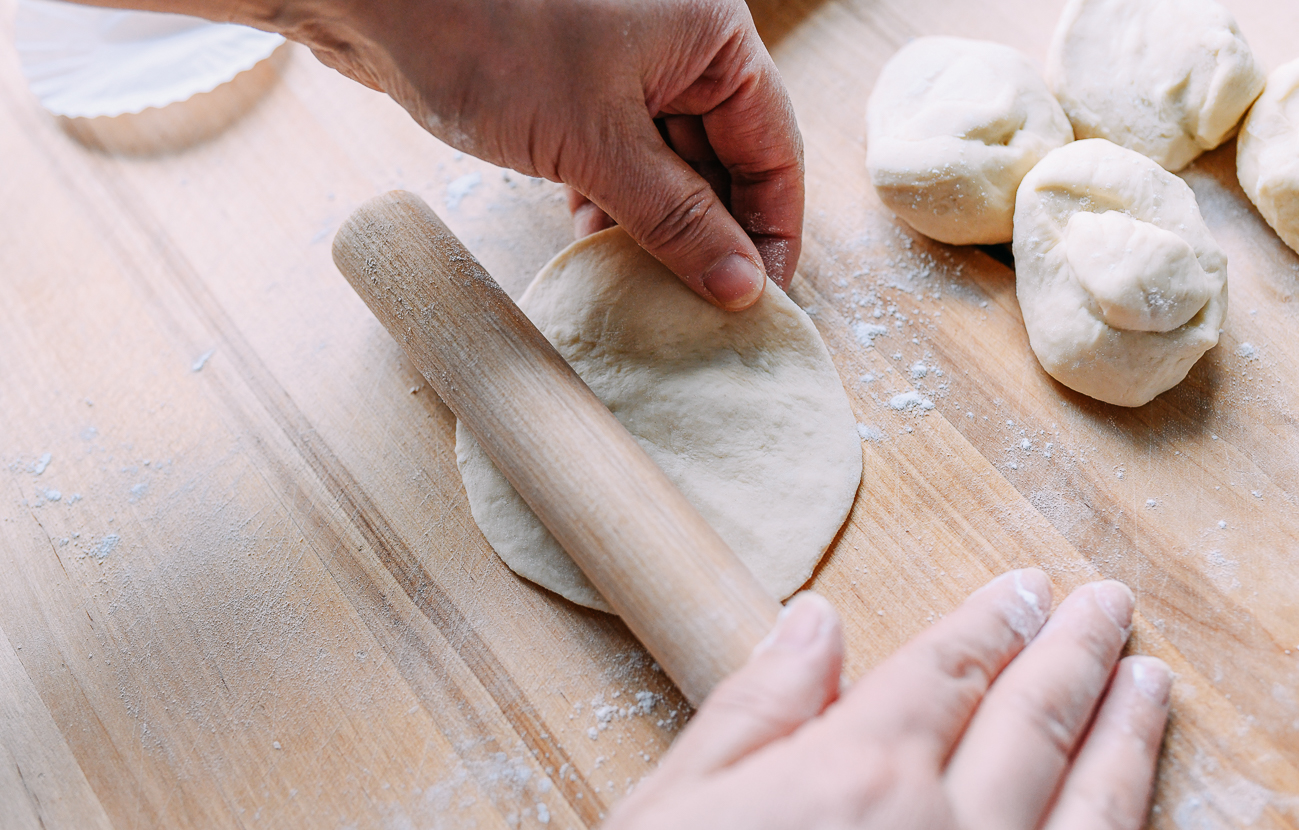
To assemble, roll a dough ball into a 4-inch disc, making the edges slightly thinner than the center.
Put one ball of red bean filling in the center of the dough.

Gather the edges of the dough around the filling…
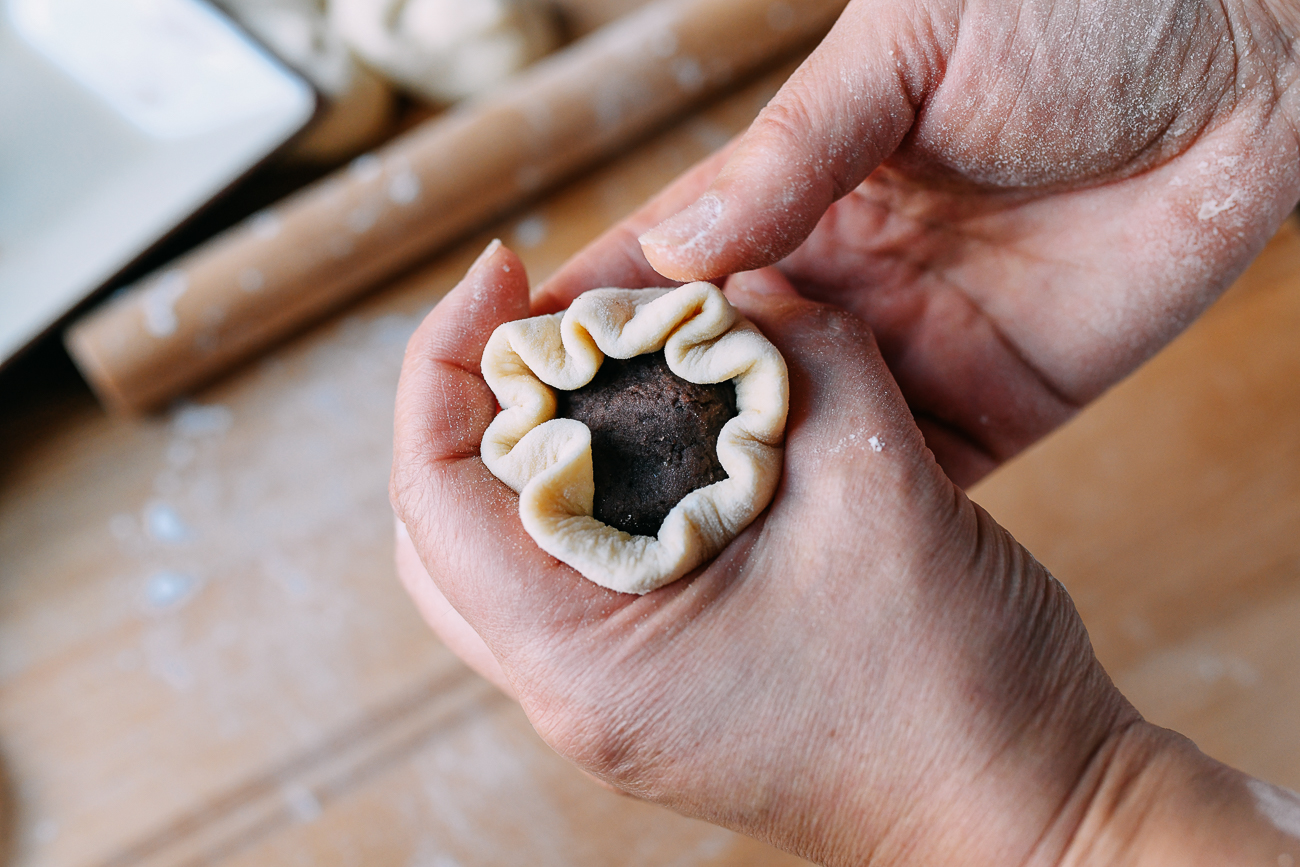
And pinch the edges together to close the opening.
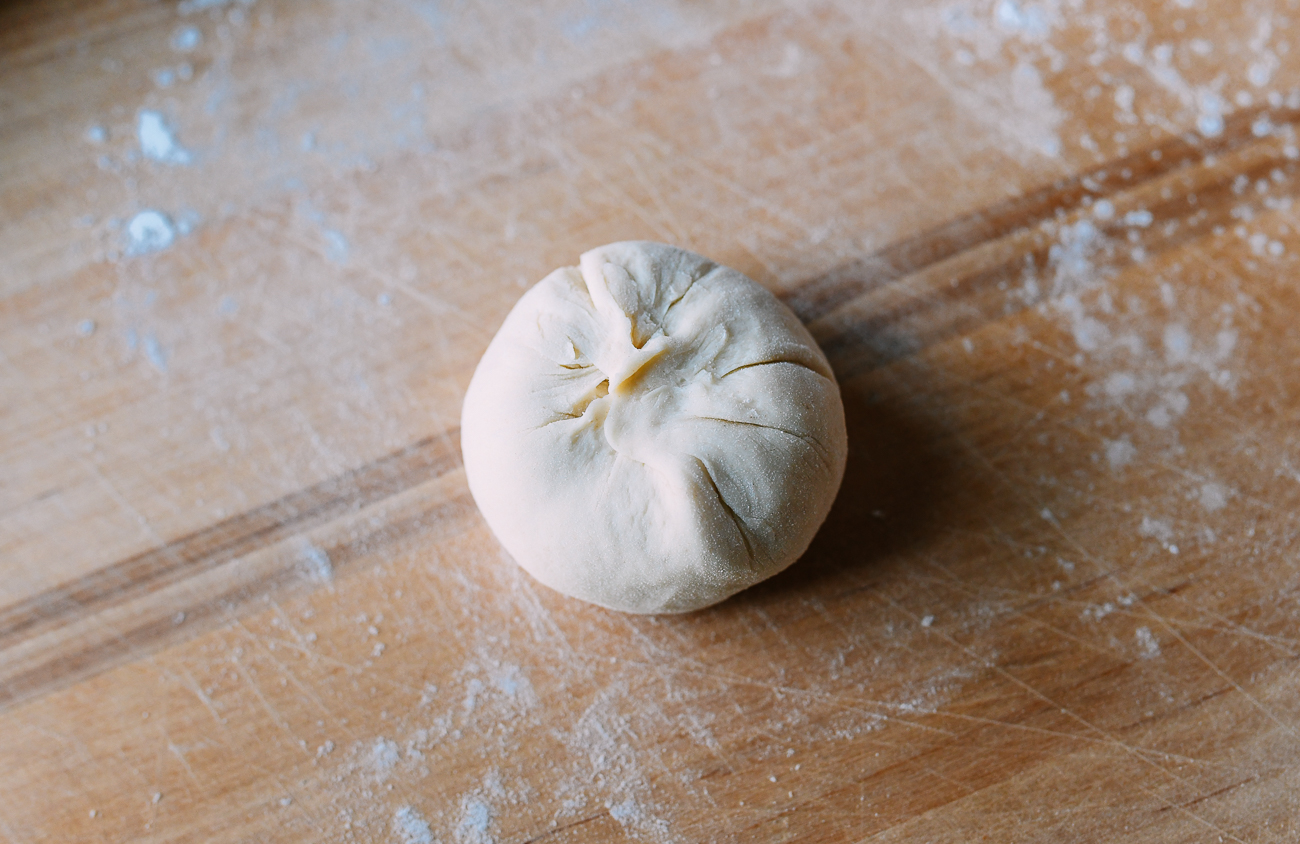
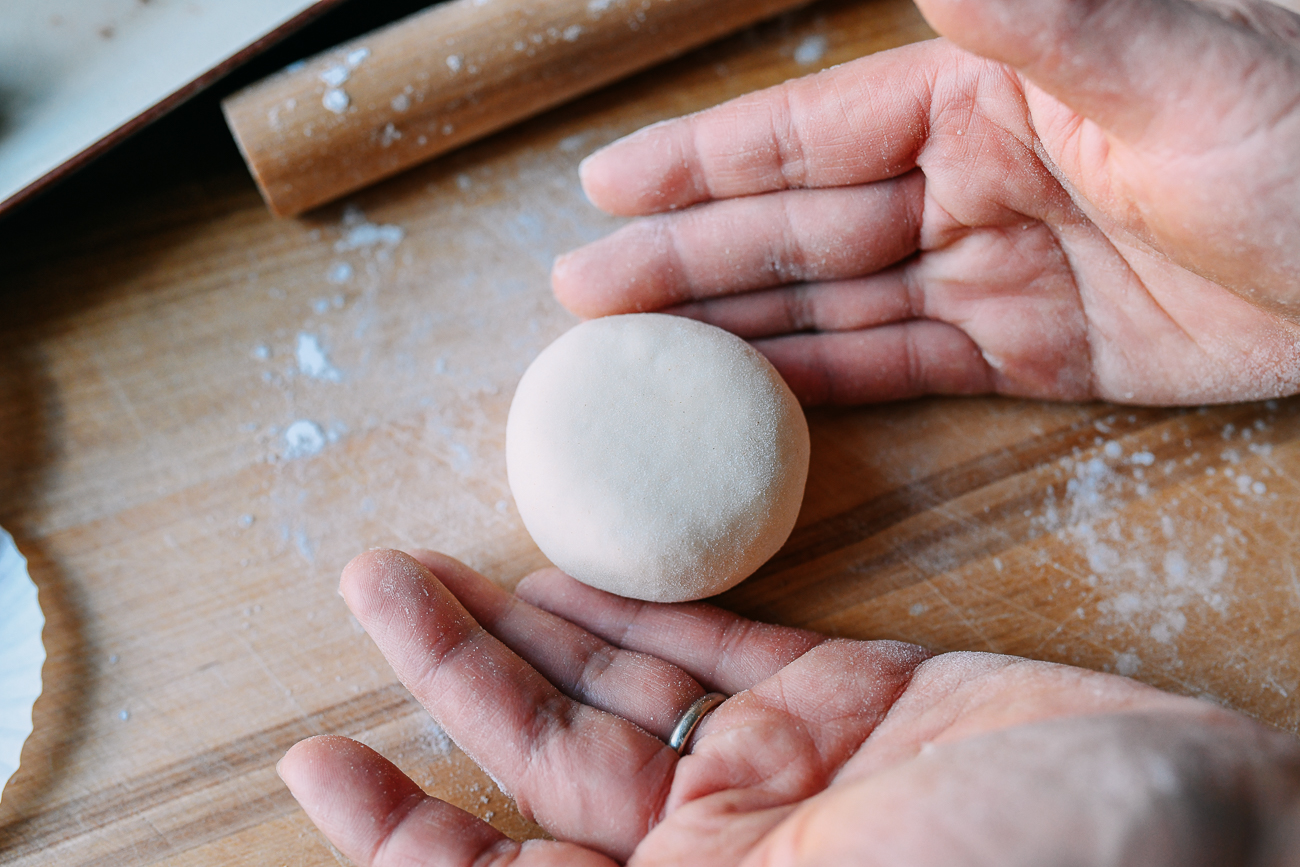
Place the dough seam side down on a parchment square, and transfer to your steaming rack.
The buns need at least 1-inch of space between each other. Repeat with the remaining dough until you’ve assembled all the buns.
Prepare your steamer with about 5 cups of warm water. Put the buns in the steamer and cover.
Your steamer water should be lukewarm to help with the proofing, but do not turn on the heat at this time. Let them proof for 30 minutes.
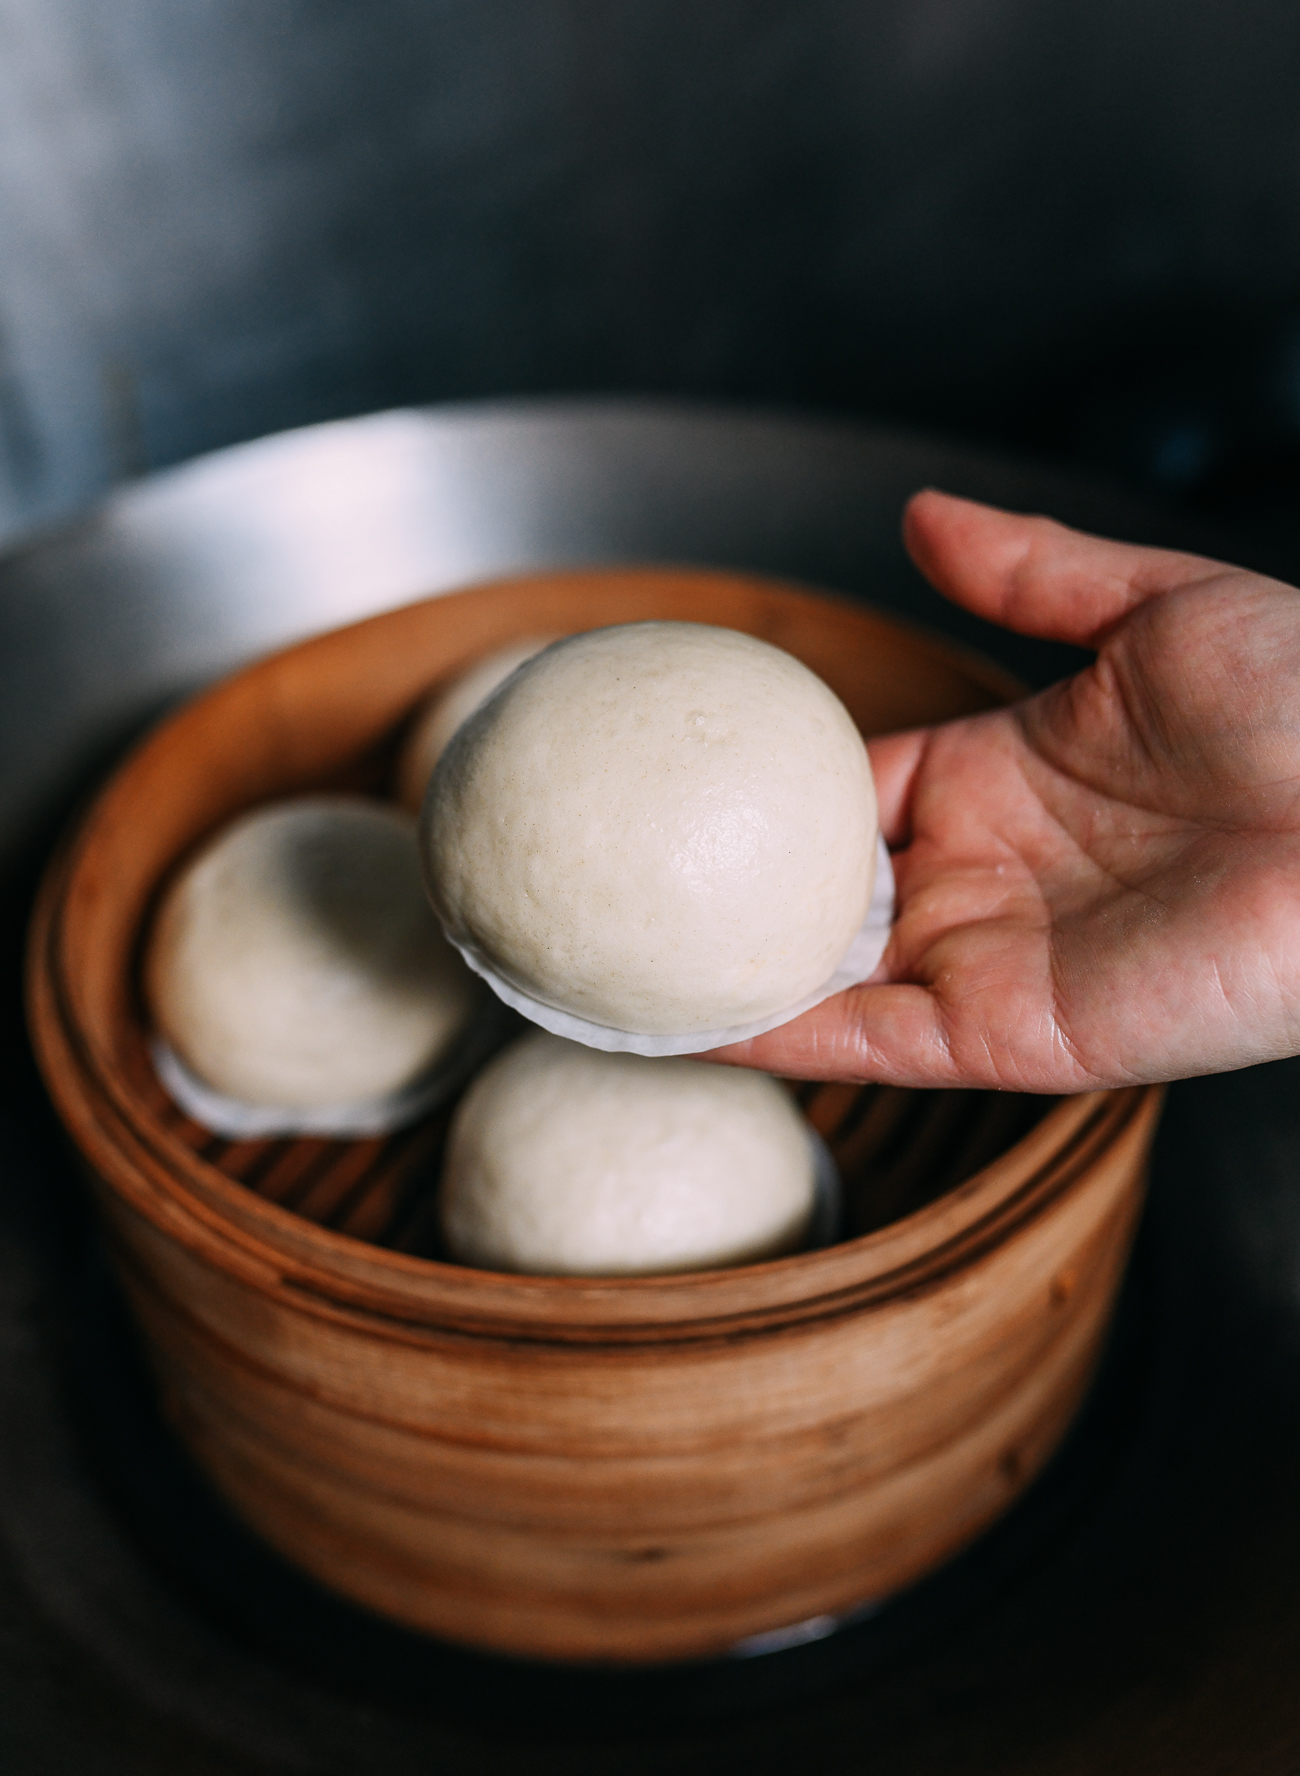
Now turn the heat on to medium/high. Set your timer for 15 minutes, during which the heat will slowly bring the water to a boil and steam the buns. It may seem slow to heat in the beginning, but don’t be tempted to disturb the buns or remove the lid.
After the 15-minutes have elapsed, turn off the heat, and let the buns sit in the steamer with the lid tightly covered for another 5 minutes.
DO NOT UNCOVER THE LID AT ANY POINT DURING THE STEAMING AND POST-STEAMING TIME.
The buns need 5 minutes to set, or they will collapse and become wrinkly, so be patient. Reveal them only after the final 5-minute timer goes off!
Eat them while they are hot. You can also freeze the leftover buns in a freezer bag once cooled, and re-steam them right out of the freezer (no need to thaw) for 5-6 minutes on high heat.
Looking for more authentic recipes? Subscribe to our email list and be sure to follow us on Pinterest, Facebook, Instagram, and Youtube!
Recipe

Steamed Red Bean Buns
Ingredients
Instructions
- First, prepare the red bean paste. You can use our recipe for sweet red bean paste, or opt for store-bought. Our original recipe makes a large batch, but you can freeze leftovers to make other recipes. To make the exact amount needed for this recipe, scale the serving size down from 21 to 4 in the recipe card. The filling must be cooled completely and can be made up to several days in advance.
- In a large mixing bowl, add 1 teaspoon sugar to ¼ cup warm water, and stir in the yeast until dissolved. Let sit for 15 minutes until the yeast foams up.
- Next, stir in the milk and add the flour, powdered sugar, and salt. With the dough hook attachment, turn the mixer on low. Let the mixer go for 5 minutes, or knead by hand for 8 minutes, or until the dough is soft and smooth. The dough should not stick to your hands or the bowl.
- Cover with a plate to proof for 1 hour in a warm spot, or until the dough doubles in size. I proof the dough inside my closed microwave with a large mug of just boiled water next to it.
- While the dough is proofing, roll 8 balls of red bean filling between your palms. Each should weigh about 25g. Cover them with a damp towel to prevent them from drying out. Set aside.
- Cut out eight 3"x 3" squares of parchment paper for the buns to sit on in the steamer.
- Once the dough is done proofing, put it back in the mixer and knead for another 2 to 3 minutes to get rid of any air bubbles (or knead by hand). Transfer to a clean, lightly floured surface. Use a kitchen scale to equally divide the dough into 8 pieces (mine were 50g apiece). Cover with a clean kitchen towel while you assemble the buns.
- To assemble, roll a dough ball into a 4-inch disc, making the edges slightly thinner than the center. Put one ball of red bean filling in the center of the dough. Gather the edges of the dough around the filling, and pinch the edges together to close the opening.
- Place the dough seam side down on a parchment square, and transfer to your steaming rack. The buns need at least 1-inch of space between each other. Repeat with the remaining dough until all the buns are assembled.
- Prepare your steamer with about 5 cups of warm water. Put the buns in the steamer and cover. Your steamer water should be lukewarm to help with proofing, but do not turn on the heat at this time. Let them proof for 30 minutes.
- Now turn the heat on to medium/high. Set your timer for 15 minutes, during which the heat will slowly bring the water to a boil and steam the buns. It may seem slow to heat in the beginning, but don’t be tempted to disturb the buns or remove the lid.
- After the 15-minutes have elapsed, turn off the heat, and let the buns sit in the steamer with the lid tightly covered for another 5 minutes. DO NOT UNCOVER THE LID AT ANY POINT DURING THE STEAMING AND POST-STEAMING TIME. The buns need 5 minutes to set, or they will collapse and become wrinkly, so be patient. They can only be revealed after the final 5-minute timer goes off! Enjoy.


